Looking for a complete A Sleepwalker's Confession walkthrough to conquer Zenless Zone Zero's Version 3.0 update? You have found it. Season 3 Chapter 1 brings Proxies to the sky-bound region of Roscaelifer, introducing intricate puzzle mechanics, the new Skybus transit system, and a brutal final showdown against the Ramiel Angel Form. This guide breaks down every objective, chest location, and combat strategy so you can clear the story, claim your Polychrome rewards, and unlock the new free Ether-Attack Agent, Pyrois.
Whether you are a day-one Proxy or a returning player drawn in by the game's official Steam debut and the massive visual overhaul featuring ray-traced reflections, Version 3.0 is a turning point for the narrative. The cryptic tagline—"I dreamed of another me, in a dream I would never wake up from"—sets a psychological tone that bleeds directly into the gameplay. Let's dive into the step-by-step process of surviving New Eridu's latest nightmare.

Preparing for Your A Sleepwalker's Confession Walkthrough
Before diving into the core missions, you need to ensure your account meets the entry requirements for Version 3.0. HoYoverse has locked the new chapter behind specific progression milestones to ensure players understand the heavy narrative stakes.
To begin, you must "Complete Season 2 Epilogue" (specifically the mission "New: Eridan Sunset (B)"). Doing so will "Unlock Chapter 1" on your HDD system. From there, your primary goals are to clear the story to "Earn 300 Polychromes" from the server compensation, and finally "Unlock Treating Symptoms"—the crucial epilogue mission that grants the ultimate prize: "Free Agent: Pyrois".
Beyond account requirements, team composition is critical. The Hollows beneath Roscaelifer feature enemies with regenerating Ether shields that crack quickly under sustained elemental pressure. The new S-Rank Agents featured in the Phase I banners—Velina (Wind - Anomaly) and Norma (Stun - Fire)—are tailor-made for this exact environment. If you don't have them, building a team around high Anomaly buildup or heavy Stun capabilities using your existing roster is essential before stepping into the domain.
Exploring Roscaelifer: Skybus and Bangboo Mechanics
Version 3.0 expands the world of New Eridu by introducing Roscaelifer, a multi-tiered ecological zone that serves as the primary setting for this chapter. PC players will immediately notice the visual upgrade; the neon-lit transit hubs of Roscaelifer look stunning with the new DLSS 4.5 integration, but don't let the eye candy distract you from the Hollow mutants lurking in the shadows.
The crown jewel of Version 3.0's level design is the "Skybus transit system". This isn't just set dressing; it's a fully interactive puzzle mechanic. As you navigate the upper tiers, you will frequently need to "hack the terminal" to reroute power to different rail lines. To support this, HoYoverse has added "Expanded Bangboo mechanics", allowing your robotic companions to crawl through vents, bypass security grids, and open pathways while your main squad holds the line against incoming mutant waves.
A Sleepwalker's Confession Walkthrough: Puzzles 1 to 4
The first half of the domain eases you into the new mechanics before ramping up the difficulty. Here is the step-by-step breakdown for the initial puzzle gauntlet.
Puzzle 1: The Skybus Power Grid Upon entering the Roscaelifer Hollow, your path is blocked by a deactivated Skybus terminal.
- Defeat the initial wave of Ether Mutants.
- Send your Bangboo through the vent on the right wall.
- Interact with the glowing blue terminal to restore auxiliary power.
- Ride the Skybus to Sector 2.
Puzzle 2: The Wind-Tunnel Maze Here, you will encounter environmental hazards that blow your characters off the platform.
- Wait for the wind cycle to pause (you have a tight 4-second window).
- Dash to the first barricade.
- Push the heavy Ether-crate into the wind stream to create a permanent block.
- Proceed to the exit and collect the Silver Chest containing your first batch of upgrade materials.
Puzzle 3: The Data Node Sync This puzzle requires matching frequencies on three separate monitors scattered around a central hub.
- Monitor A: Set to 45Hz.
- Monitor B: Set to 90Hz.
- Monitor C: Set to 120Hz. Once synced, the central door will open, triggering a mid-boss fight against a corrupted heavy construction mech. Use Stun Agents to build the daze meter quickly and avoid its wide, sweeping attacks.
Puzzle 4: The Bangboo Relay The final puzzle of the first half requires splitting your attention. You must control your Bangboo to step on pressure plates while your squad defends the central core from three waves of enemies. Prioritize ranged attackers first, as their projectiles will interrupt the Bangboo's hacking progress and reset the timer.
A Sleepwalker's Confession Walkthrough: Puzzles 5 to 8
As you delve deeper into the dreamscape, the environment becomes more abstract, reflecting the chapter's psychological themes. This section of our walkthrough covers the complex late-game puzzles that have been frustrating players.
Puzzle 5: The Mirrored Hallway You will enter a room that perfectly mirrors your movements.
- Walk to the center of the room to spawn the mirror clone.
- Guide the clone onto the red pressure plate by moving in the opposite direction.
- Once the clone is locked in place, dash to the blue terminal and activate it before the lock timer expires.
Puzzle 6: The Laser Grid Once you enter the mid-game, you will see a neon sign reading "Sector 4". This marks the beginning of the Bangboo relay sequence. You will be separated from your squad, and you must command your companion to "Hack the bridge!" across a massive chasm. Successfully navigating this multi-step sequence rewards you with a glowing chest unlocking with the number "08" on its front, containing crucial upgrade materials.

Puzzle 7: The Skybus Derailment You find a crashed Skybus blocking the main artery of the Hollow.
- Defeat the elite Ether-guard protecting the crash site.
- Salvage the three power cores scattered around the debris (one is hidden behind a destructible wall on the far left).
- Insert the cores into the crane control panel to lift the wreckage out of the way.
Puzzle 8: The Final Lock Before the boss arena, you face a massive dial. The code is hinted at in the dialogue logs you collected throughout the mission.
- Solution: Turn the dial to 0-6-1-7 (a clever nod by the developers to the Version 3.0 release date).
- Grab the Gold Chest hidden behind the dial before proceeding through the ominous double doors.
Completing Your A Sleepwalker's Confession Walkthrough: The Ramiel Boss Fight
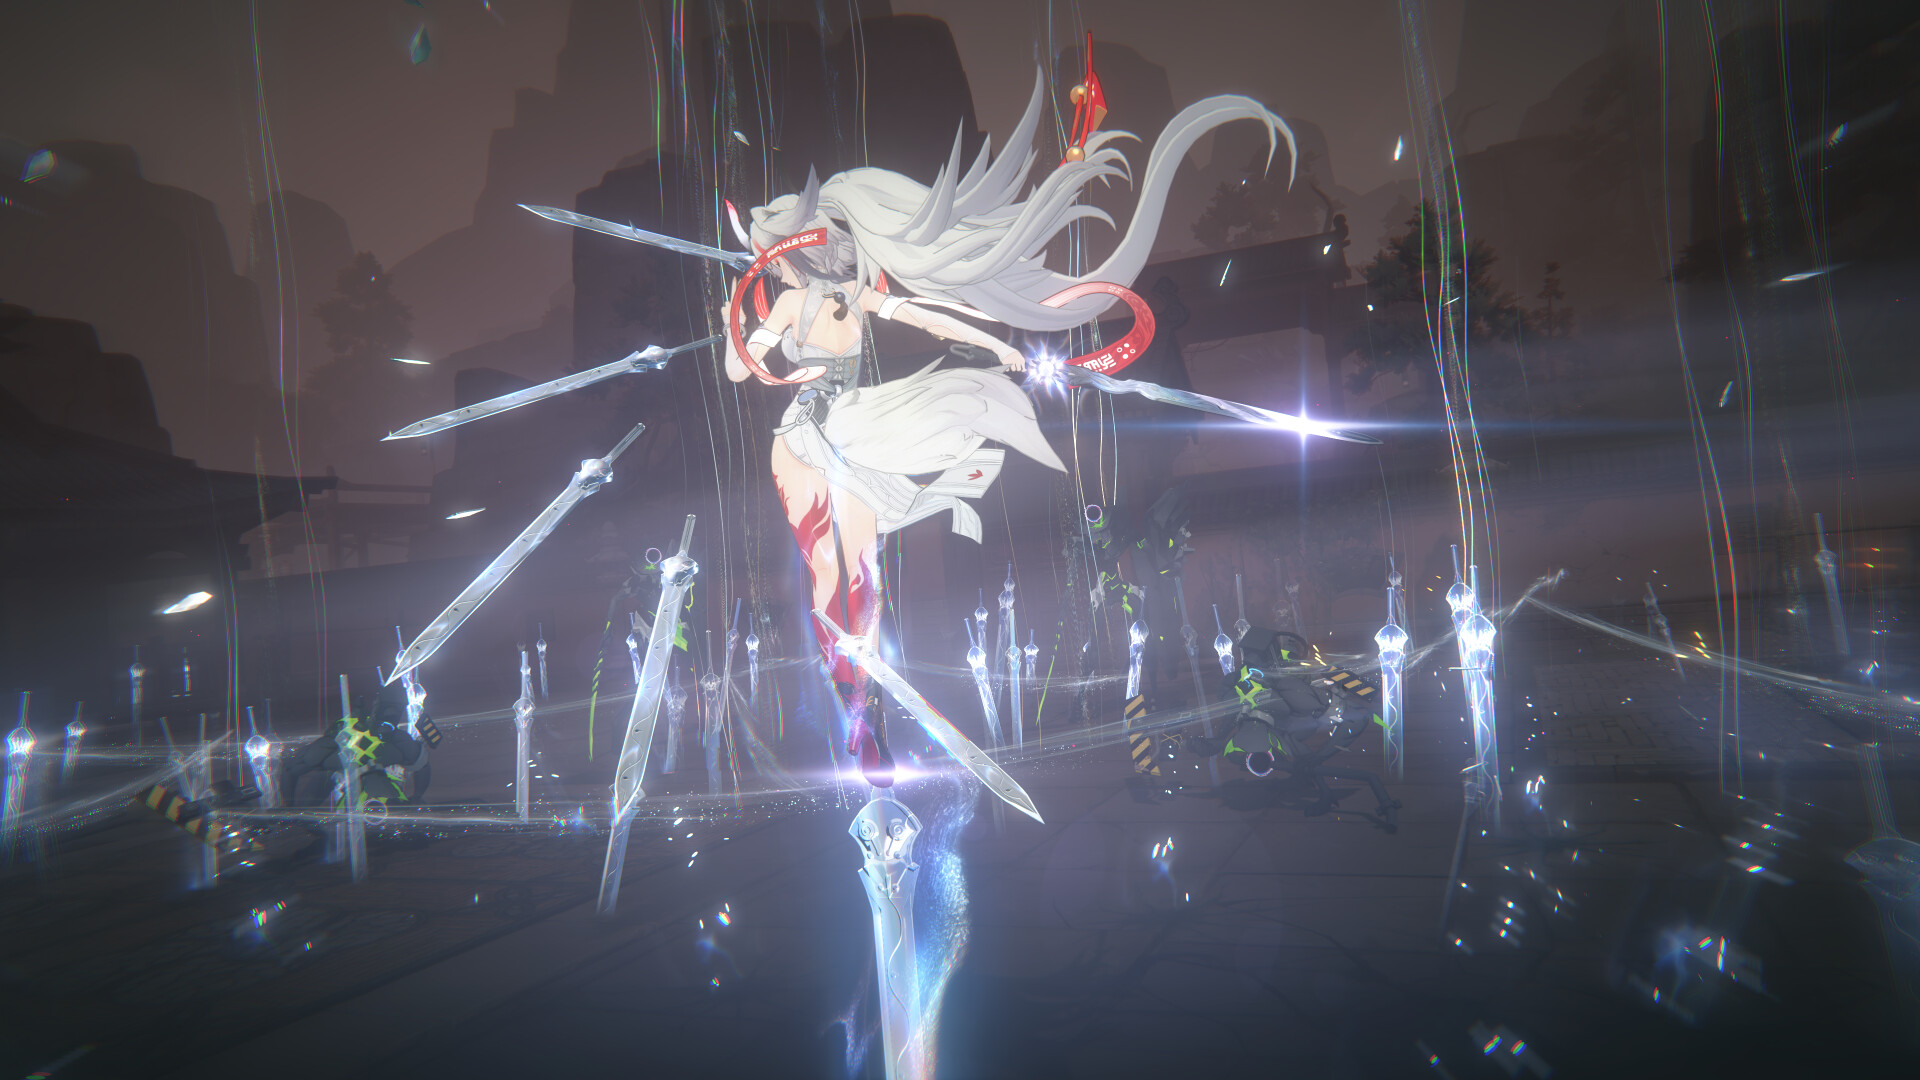
The climax of your A Sleepwalker's Confession walkthrough is the brutal showdown against the "Ramiel Angel Form". This boss operates on a strict enrage timer and requires precise elemental application.
During "Phase One", the boss relies on heavy ground sweeps and wide area-of-effect blasts. You must exploit its "Wind Weakness" using Agents like Velina to rapidly build the Stun meter. Staying close is actually safer than retreating, as Ramiel's ranged tracking projectiles deal massive damage. When stunned, unleash your Chain Attacks, prioritizing Agents like Norma to maximize damage multipliers.
At 50% health, Ramiel takes to the air, becoming immune to standard melee attacks. This is where ranged or Anomaly characters shine. Watch the ground for glowing red telegraphs indicating where Ramiel's orbital strikes will land. If you fail to break its shield in time, Ramiel will launch its "Ultimate Attack", a screen-clearing orbital strike that will instantly wipe under-leveled squads. You have exactly 8 seconds to destroy the two Ether-crystals that spawn on opposite sides of the room to interrupt this cast.
Once defeated, sit back and enjoy the breathtaking cinematic cutscene that sets the stage for the rest of Season 3.
Post-Quest Rewards: Unlocking Pyrois
Finishing the main story quest is only the beginning. Completing this chapter unlocks a crucial follow-up mission called "Treating Symptoms."
By completing "Treating Symptoms," players are rewarded with Pyrois, a brand-new S-Rank Ether - Attack Agent from the Phaethon Faction, completely for free. Pyrois is an exceptional addition to any roster, offering high burst damage and unique synergies with other Phaethon characters. The fact that HoYoverse is giving away an S-Rank Agent simply for completing story content marks a massive shift in the game's economy and player reward structure.
Additionally, completing the entire chapter nets you significant Polychrome rewards. According to economy breakdowns, strict F2P players who clear all Version 3.0 content can earn roughly 145 limited pulls during the 42-day patch cycle, giving you plenty of currency to invest in the current Signal Searches.
Frequently Asked Questions (FAQ)
How long does A Sleepwalker's Confession take to beat? A full playthrough of the Season 3 Chapter 1 main story takes approximately 1.5 to 2 hours. The cinematic cutscenes—particularly the Belle vs. Ramiel sequence—are lengthy but essential for the overarching narrative.
Is Pyrois really free in Version 3.0? Yes. Unlike Velina and Norma who require pulling on the Signal Search banners, Pyrois is unlocked permanently for your account simply by completing the "Treating Symptoms" mission after finishing the main story.
What are the best characters for the Ramiel boss fight? Agents that excel in Stun and Anomaly buildup are mandatory. Norma (Fire-Stun) and Velina (Wind-Anomaly) are the intended premium counters, but heavily invested F2P options like Anby can still clear the daze checks if your combat rotation is flawless.
Where is the hidden Gold Chest in Roscaelifer? The hidden Gold Chest is located right before Puzzle 8. Instead of going straight to the dial, look for a destructible wall behind the crashed Skybus debris on the left side of the room.
Sources
- Zenless Zone Zero Official Site: Version 3.0 Update Announcement.
- HoYoverse Version 3.0 Special Program Livestream and Patch Notes.
- Community puzzle documentation from the ZZZ Creator Experience Server.