If you want to survive the demonic hordes of the fallen continent of Belrak, chaotic hacking and slashing alone will not save you. To hold the line against impossible odds, you need a definitive base building guide. The Gate Must Stand is a brutal hybrid of action-roguelite and tower defense, demanding that you balance the mobility of your hero with the stationary architectural dominance of your followers. While your hero can fall in battle and revive to fight another day, the great stone gate cannot. If the gate falls, your run ends immediately.
Developed by Senmu Studio and published by Yogscast Games and Gamersky Games, the game throws relentless waves of horrors at you. Success requires meticulous planning, precise follower placement, and a deep understanding of how to funnel enemies into devastating chokepoints. In this comprehensive breakdown, we will cover everything from early-game economy management to late-game relic synergies, ensuring your fortress remains impenetrable.
Essential Base Building Guide: The Gate Must Stand Basics
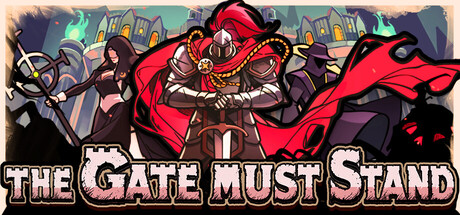
Before you can construct an impenetrable fortress, you must understand the core mechanics that govern the battlefield in The Gate Must Stand. Unlike traditional survivors-likes where your primary goal is simply to move and kite enemies, this game requires you to anchor yourself to a central objective: the city's final gate.
Your hero is a mobile interceptor, but your 19 base Followers are the true foundation of your defense. These followers act as stationary towers, providing covering fire, healing, and crowd control. The game operates on a delicate resource economy driven by EPX crystals. As you slay enemies, these crystals drop on the battlefield. You must physically collect them—watching the satisfying UI animation as the crystals fly toward your EPX bar—to level up and unlock new building options.
Early in a run, your primary focus should be a mix of establishing a frontline and upgrading the gate itself. The gate is your ultimate lifeline, and upgrading it increases its durability against the inevitable breaches.
Gate Upgrade Costs
Managing your resources for gate upgrades is critical. The costs scale as you progress through a run:
- Tier 1 Upgrade: 20 resources
- Tier 2 Upgrade: 50 resources
- Tier 3 Upgrade: 80 resources
Do not wait until the gate is under attack to purchase these upgrades. A sudden surge of Elite Enemies can melt a base-level gate in seconds. Invest your first 20 resources into the gate as soon as your initial perimeter is stable.
Optimal Follower Placement and Synergies
The true depth of the game reveals itself in how you combine your 19 base followers and evolve them into their 38 Ultimate forms. Placing followers randomly will result in a swift defeat; you must build a synergistic network where units protect and amplify one another.
Frontline Defenders
Your frontline is defined by your barricades (referred to in-game as fences) and your tank-class followers. Fences are your primary means of pathing manipulation. You can monitor their status via the green HP bars displayed above them. Behind these fences, you should position your Sanctuary Guardian. The Sanctuary Guardian projects a crucial aura that provides damage redirection, absorbing hits that would otherwise destroy your fragile ranged units or the gate itself.
Pair the Sanctuary Guardian with the Forest Guardian. The Forest Guardian features dynamic health regeneration. By placing the Forest Guardian near the Sanctuary Guardian, you create a self-sustaining defensive pocket that requires minimal intervention from your hero. Remember that healing numbers will only appear on your screen when a single heal exceeds 5 HP, so don't panic if you don't see constant visual feedback—the regen is working.
Ranged and Artillery Support
Thanks to recent performance optimizations, Archer projectiles no longer incorrectly collide with friendly barricades. This is a massive advantage for base builders. You can now safely stack Archers directly behind your fences in tight formations, allowing them to fire over your frontline without wasting their damage on your own walls.
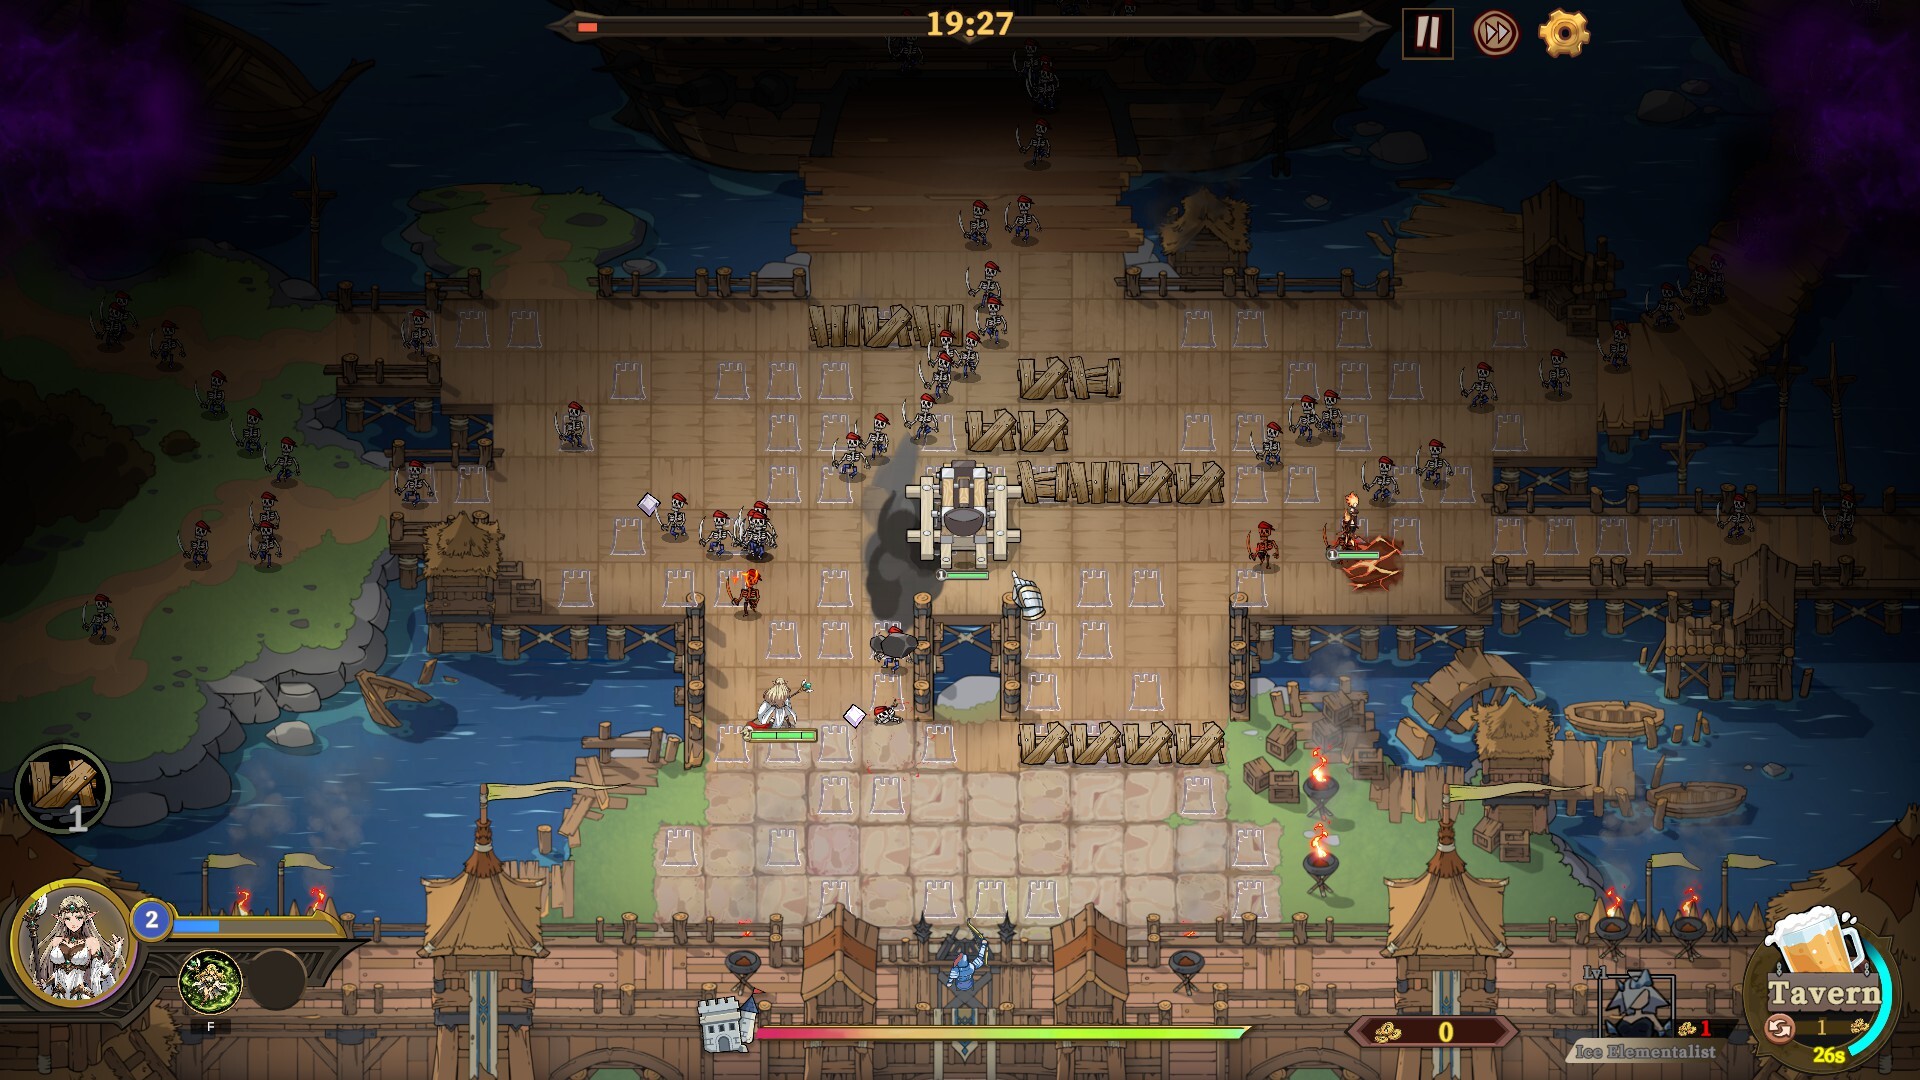
For heavy area-of-effect (AoE) damage, the Catapult is unmatched. However, placing a Catapult requires spatial awareness. When you select a Catapult from your build menu, the UI will highlight only the four valid tiles where it can be placed. You must plan your base layout to leave these specific 2x2 or 1x4 grid spaces open behind your main chokepoints.
Advanced Base Building Guide: The Gate Must Stand Chokepoint Strategies
Building a wall straight across the map is a rookie mistake. The demonic hordes will simply spread out, attack the entire surface area of your defenses, and inevitably break through the weakest link. To master the mid-game, you must learn to manipulate enemy pathing by creating chokepoints.
The U-Shape Funnel
The most effective base layout in The Gate Must Stand is the U-Shape Funnel. By leaving a deliberate gap in your outer fence line and building your barricades inward toward the gate, you force the enemy AI to route all their units into a single, narrow corridor.
- The Outer Walls: Build thick, reinforced fences on the left and right flanks. Do not place roadblocks halfway across a grid, as this can cause follower position errors or allow enemies to clip through.
- The Kill Zone: The open corridor in the center becomes your kill zone.
- Artillery Placement: Position your Catapults so their AoE target zones overlap perfectly within this U-shape. When the demonic horde bunches up to push through the gap, a single Catapult volley can decimate dozens of enemies.
- Hero Intercept: Park your hero at the very mouth of the funnel. Because enemies are forced to come to you, you can maximize your hero's 149 available skills, utilizing close-range cleave attacks to thin the herd before they even reach your inner barricades.
Beware of the Assassin enemies. While regular hordes will blindly walk into your funnel, Assassins can flank. Keep a few burst-damage followers near the rear of your base to peel these high-threat targets off your gate.
Managing Relics and The Decree of the Ancient King
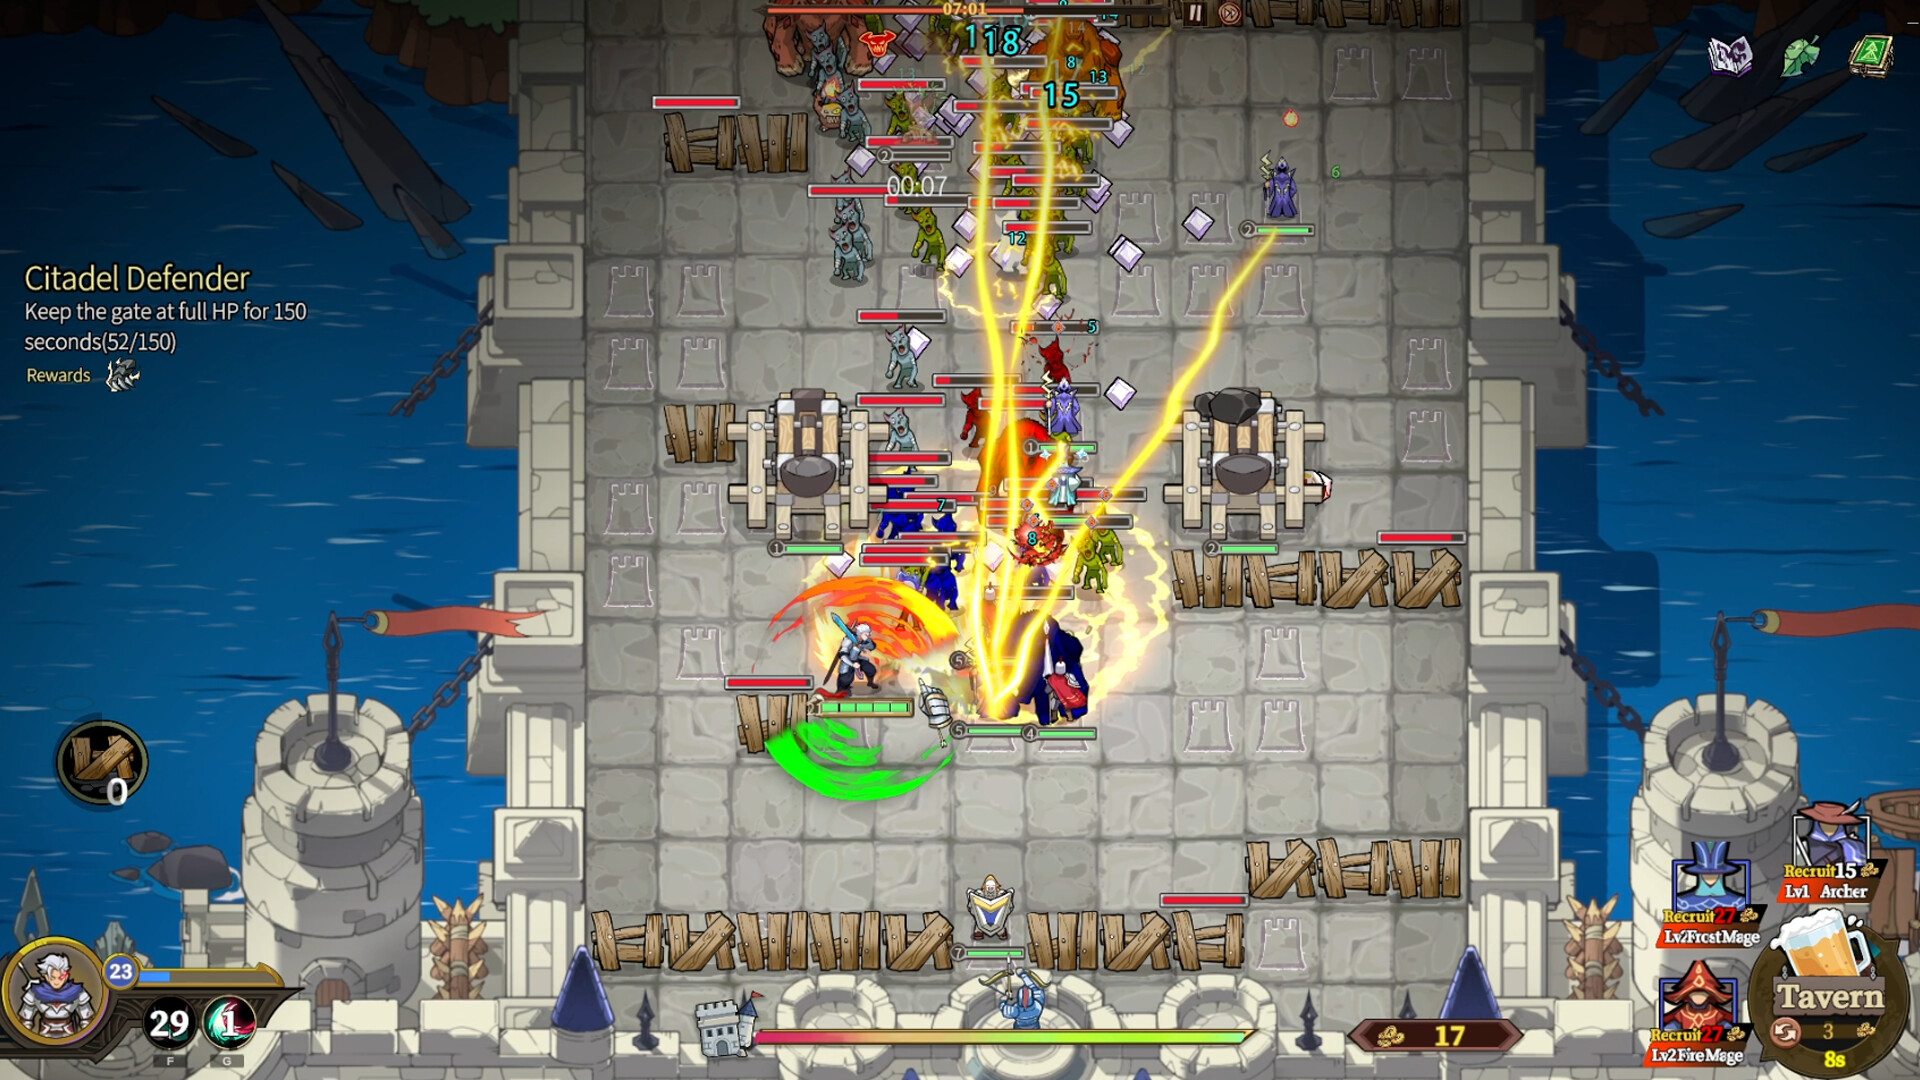
Survival in Belrak is not just about static defenses; it is about adapting to the escalating threat through meta-progression and relic acquisition. Every 5 minutes, the game spawns an apocalyptic demonic boss. Defeating these bosses is mandatory, as they drop game-altering Relics.
There are 53 distinct Relics in the game, and they fundamentally change how your base operates. Some relics increase the attack speed of your Bow Ring, while others enhance the burn damage-over-time effects of your spellcasters.
One of the most powerful items you can obtain is the Decree of the Ancient King. The game treats this item with absolute reverence. When you obtain the Decree for the first time, the background of the game will dim, and the icon will be highly illuminated. When the Decree is ready to be used, its icon features a distinct breathing animation. Do not waste this item on standard waves. Save the Decree of the Ancient King for when a boss breaches your U-shape funnel and your Sanctuary Guardian falls. It is your ultimate panic button to reset the frontline.
Late-Game Base Building Guide: The Gate Must Stand Boss Defense
As you cross the 15-minute mark, the game transitions from a tactical base builder into a chaotic bullet-hell of survival. You will face a combination of the game's 13 Bosses and 10 Elite Enemies, often simultaneously.
At this stage, your base will inevitably take damage. Fences will shatter, and followers will be overrun. This is where the game's unique revival mechanic comes into play.
The Hero as a Human Shield
Heroes can fall. Entire squads of followers can be wiped out. But the gate must stand. If your eastern flank collapses, you must physically move your hero into the breach. Your hero will take massive damage, but while you are acting as a human shield, your followers' respawn timers are ticking down.
If your hero dies, it is not the end of the run. You will revive after a short delay. The strategy here is calculated sacrifice. Let your hero die to stall a boss for 10 seconds if it means your Catapult has time to awaken and your Forest Guardian has time to respawn and drop a new heal.
To survive the final waves across the game's 3 Stages and 6 Maps, you must upgrade your followers into their Ultimate forms. The transition from a base Follower to one of the 38 Ultimate forms requires specific Relic synergies and a massive investment of EPX crystals. Prioritize upgrading your AoE units first, as the sheer volume of the late-game demonic horde will overwhelm single-target damage dealers, no matter how high their stats are.
The Ultimate Defense Checklist
Before you boot up your next run on Steam, review this pre-battle checklist to ensure your base is optimized:
- Secure the Economy: Are you actively collecting EPX crystals, or are you letting them despawn?
- Upgrade the Gate: Have you spent your first 20 resources to get the gate to Tier 2?
- Check the HP Bars: Are your fence HP bars (displayed in green) healthy, or do you need to rebuild?
- Verify Catapult Spacing: Have you left the four valid tiles open for your heavy artillery?
- Protect the Healers: Is your Forest Guardian safely tucked behind the Sanctuary Guardian's redirection aura?
By following these principles, you will transform from a desperate survivor into a master tactician, capable of holding the line on all 5 Difficulty Levels.
Frequently Asked Questions (FAQ)
How much does it cost to upgrade the gate? Gate upgrades are vital for survival and cost 20 resources for the first tier, 50 for the second, and 80 for the third. Always prioritize the 20-cost upgrade early in your run to prevent sudden game-overs from flanking Elite Enemies.
Why can't I place my Catapult anywhere I want? Catapults require specific spatial dimensions to be deployed. When you select a Catapult, the UI will highlight exactly four valid tiles where it can be placed. You must build your base layout around these static artillery positions.
Do Archer attacks damage my own walls? No. Following a recent performance and gameplay optimization patch, Archer projectiles no longer incorrectly collide with friendly barricades. You can safely position your Archers directly behind your fences to rain fire on the demonic hordes.
What happens if my hero dies during a wave? If your hero's HP drops to zero, they will fall in battle but will revive after a short cooldown timer. The run only ends if the city gate is destroyed. Often, sacrificing your hero to stall a boss and protect the gate is a necessary late-game strategy.
How do I heal my barricades and followers? Healing is managed through follower synergies. The Forest Guardian provides dynamic health regeneration to nearby allies, while the Sanctuary Guardian uses an aura to redirect damage away from fragile units. Note that healing numbers will only pop up on your screen if a single heal exceeds 5 HP.