If you want to survive the relentless Khmar hordes and keep your Beacon burning, choosing the best power-ups Sineus Arena Survivors offers is absolutely critical. In this chaotic, real-time Megabonk-style hybrid of bullet heaven and tower defense, raw damage isn't enough. The highest DPS and survivability for late waves come from synergizing area-denial weapons with passive artifacts that protect both your hero and your base.
Unlike traditional survivors-likes where you only worry about your own health bar, Sineus Arena Survivors forces you to defend a static Stronghold. There are no calm pauses for decisions—combat, building, and survival all happen simultaneously. Whether you are running the legendary Cat Bayun or the relentless Honey Badger, this guide breaks down the exact weapon slots, passive upgrades, and artifact combos you need to dominate the arena and secure your spot on the leaderboards.

The Core Gameplay Loop: Why Standard Survivor Rules Don't Apply
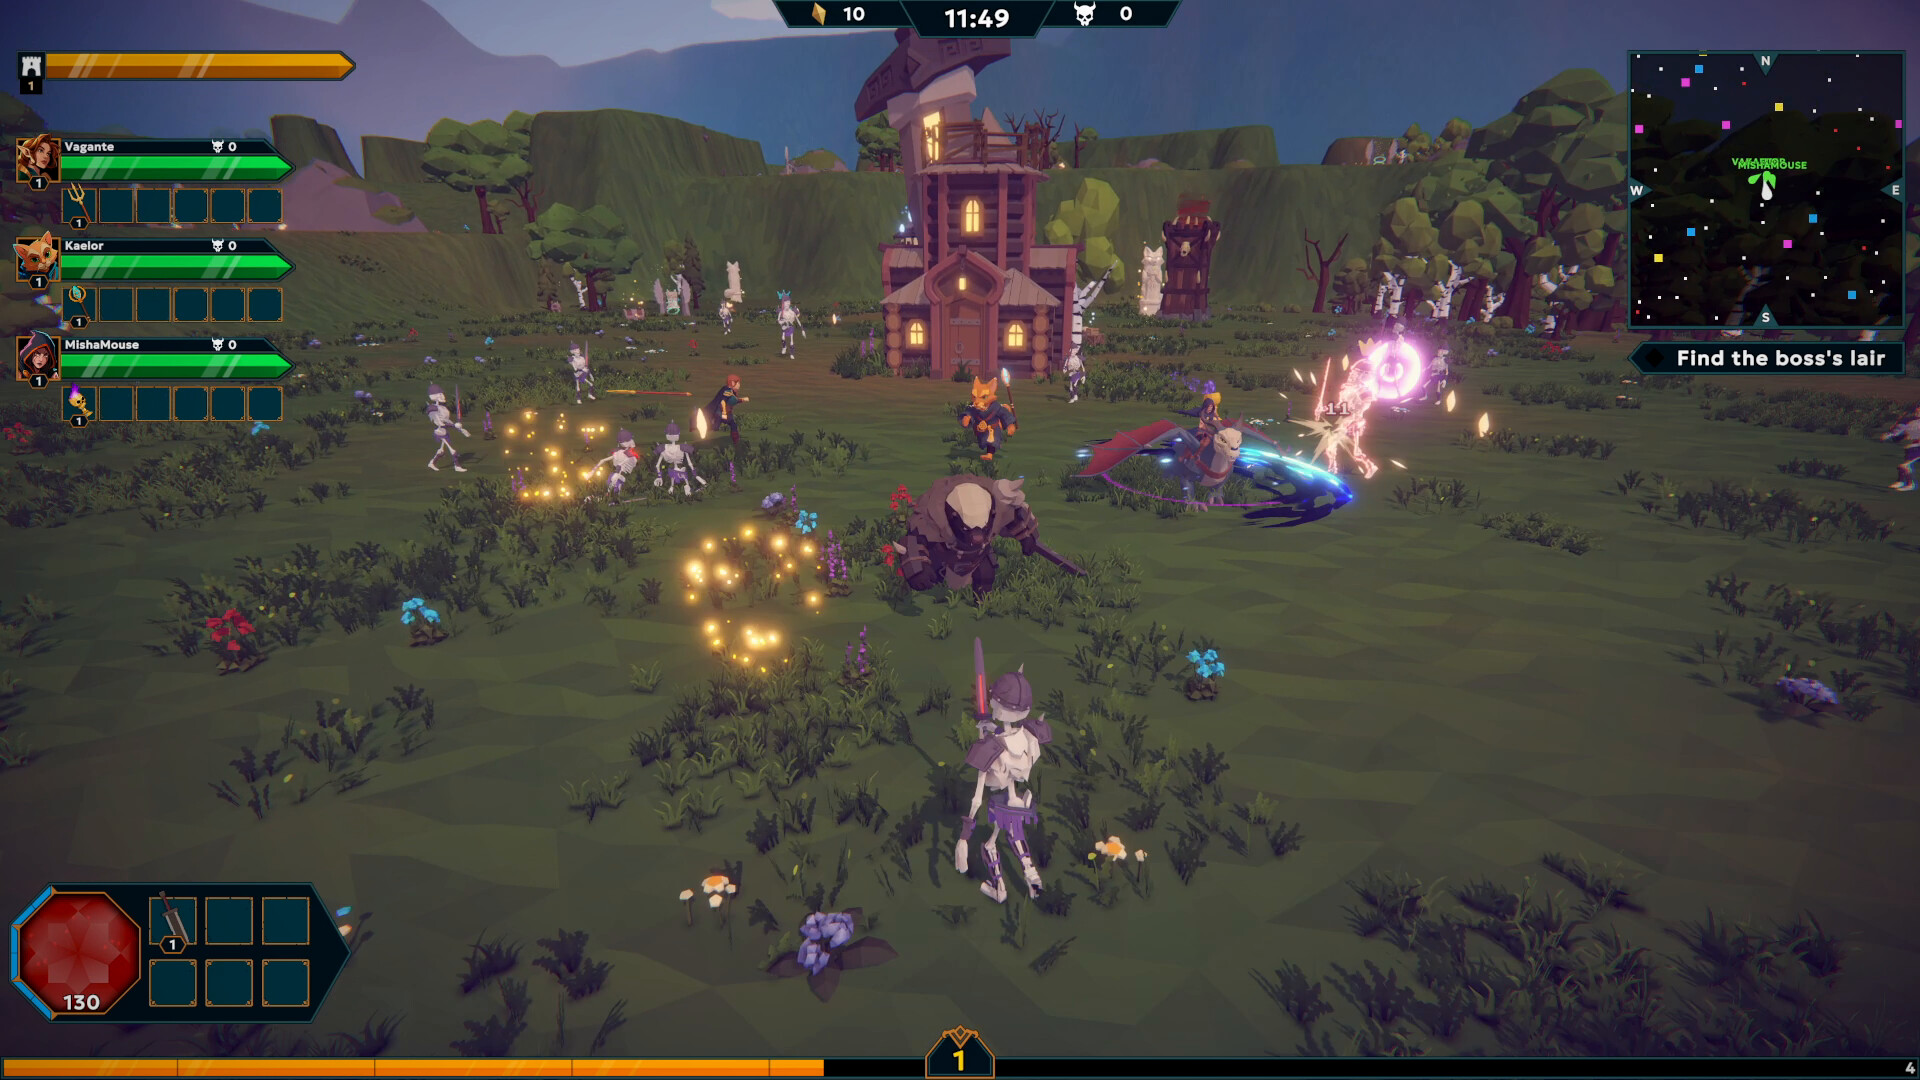
Most bullet-heaven games allow you to endlessly kite enemies across an infinite map. Sineus Arena Survivors subverts this by anchoring you to the Beacon. The Beacon is the heart of your settlement; if it falls, the run is over. This fundamental shift means that movement speed and single-target DPS—traditionally top-tier stats in the genre—take a backseat to area-of-effect (AoE) crowd control and base fortification.
During a run, you are constantly forced to make a brutal risk-reward calculation. Do you stay within the safety of your built-up barricades and towers to fend off the Khmar, or do you venture out into the procedurally generated wilds to hunt for artifact chests? The further you go, the greater the risk. Because the game does not pause when you open a chest or select a level-up reward, your build must be capable of functioning autonomously. If your power-ups require constant manual aiming or intricate positioning, your base will crumble while you are distracted looking at a loot screen.
The Meta Behind the Best Power-Ups Sineus Arena Survivors Offers
Understanding the best power-ups Sineus Arena Survivors offers requires looking at the game's strict inventory limits. In the early-game progression and current demo, you are limited to a streamlined arsenal: two active weapon slots and two passive upgrade slots. While the full release expands these slots, this tight restriction forces players to be hyper-efficient. You cannot afford a "dead" slot.
The current meta revolves around the concept of "Autonomous Area Denial." You need weapons that create persistent damage zones around the Beacon, allowing you to focus your attention on repairing structures or reviving co-op teammates. When evaluating an artifact or weapon upgrade, you must ask two questions: Does this scale infinitely into Wave 20 and beyond? And does it protect the Stronghold when I am not physically standing next to it?
If the answer to both is no, you are picking a trap option. Power-ups that only trigger on an enemy kill, for example, fall off hard in the late game when the elite Khmar brutes take significantly longer to burst down. Conversely, power-ups that deal percentage-based damage or inflict status effects like "Freeze" or "Burn" become exponentially more valuable as enemy health pools inflate.
Top Tier DPS: The Best Power-Ups Sineus Arena Survivors Has for Crowd Control
When pushing into the deep endgame, your damage output needs to scale geometrically. Here are the two dominant build paths that currently rule the leaderboards.
The Tundra Combo
The single most reliable crowd-control setup in the game is the Tundra Combo. This build relies on acquiring the "Frost Nova" active weapon and pairing it with the "Glacial Spike" passive artifact. Frost Nova pulses a ring of ice around your character every three seconds, slowing the Khmar by 40%. When combined with Glacial Spike, any enemy that remains in the slowed state for more than two seconds is completely frozen in place.
Why is this so powerful? Because frozen enemies act as physical barricades against the rest of the horde. By freezing the frontline of a Khmar swarm, you create a natural choke point that prevents the backline from advancing toward your Stronghold. This gives your automated towers ample time to chip away at the mob without taking structural damage. To maximize the Tundra Combo, you should prioritize power-ups that increase Area of Effect (AoE) radius rather than raw damage. A massive, low-damage freeze ring is infinitely more valuable than a small, high-damage one.
The Infinite Aura Farm Build
For players who prefer a more aggressive, hands-off approach, the Infinite Aura Farm Build is the gold standard. This setup centers around the "Radiant Pulse" weapon and the "Aura Expander" passive. Radiant Pulse creates a burning field of light around your hero that ticks for damage every half-second. The Aura Expander increases the size of all aura effects by 150% at max level.
The trick to the Infinite Aura Farm is positioning. By standing directly on top of the Beacon, your expanded aura completely engulfs the Stronghold. Any Khmar attempting to attack the base must stand inside your blender. When paired with life-steal artifacts, this build allows you to out-heal the incoming damage while simultaneously melting the horde. It is the ultimate "stand your ground" strategy and is particularly effective when playing solo.
Base Defense: The Best Power-Ups Sineus Arena Survivors Provides for the Beacon
You cannot win Sineus Arena Survivors on hero damage alone. The base-building mechanics require you to invest in structural integrity. The best power-ups Sineus Arena Survivors provides for base defense are those that automate repairs and multiply tower efficiency.
Reinforced Barricades
Early in a run, wooden barricades will shatter under the weight of a single Khmar brute. The "Reinforced Barricades" passive upgrade converts all your placed walls into titanium, doubling their health pool and adding a slight damage-reflection mechanic. This is a mandatory pick if you are planning to survive past Wave 15.
Auto-Repair Drones
Because the game does not pause, manually repairing damaged towers during a massive swarm is a surefire way to get killed. The "Auto-Repair Drones" artifact spawns three robotic helpers that passively heal the Beacon and surrounding structures for 5% of their max health every ten seconds. In co-op, if multiple players run this artifact, the drones stack, effectively making your inner sanctum invincible as long as you prevent overwhelming burst damage.
Overclocked Turret Gears
If you lean heavily into the tower defense aspect, this power-up increases the fire rate of all player-built structures by 30%. It pairs exceptionally well with the Tundra Combo; while you freeze the enemies, your overclocked towers shred their health bars.
Hero-Specific Artifacts: Honey Badger vs. Cat Bayun
Your choice of hero dramatically alters which power-ups you should prioritize. The game currently features two distinct playstyles, each requiring a different approach to artifact drafting.
The Relentless Honey Badger The Honey Badger is a bruiser designed for frontline combat. With a massive base health pool of 1500, this hero thrives in the thick of the swarm.
- Best Synergies: The Honey Badger benefits heavily from melee-focused power-ups like "Vampiric Claws" (grants 2% life steal on physical hits) and "Titanium Plating" (reduces incoming physical damage by 20%). Because the Badger lacks mobility, you should avoid movement speed power-ups and instead double down on tank stats. Stand at the edge of your base's perimeter and act as a living wall.
The Legendary Cat Bayun Cat Bayun is an agility-based rogue with a meager 800 base health but a staggering 45% base dodge chance. Playing Bayun requires constant movement, darting out into the wilds to secure chests and retreating before the horde collapses.
- Best Synergies: Bayun relies on "Phantom Dash" (grants invulnerability frames while dodging) and "Shadow Blades" (projectiles that pierce through multiple enemies). The best strategy for Bayun is to act as the team's resource gatherer. Equip movement speed and evasion artifacts, leave the base defense to your co-op partners (or your automated towers), and sprint across the map to secure high-tier loot.
Resource Economy and Chest Hunting
In Megabonk-style games, experience gems dictate your level-up pace. However, Sineus Arena Survivors introduces a dual-economy: experience gems for hero power-ups, and building materials (wood, stone, titanium) for Stronghold defenses.
Balancing these two economies is the hidden skill ceiling of the game. If you only focus on picking up experience gems, your hero will be incredibly strong, but your Beacon will be naked and easily destroyed by a stray projectile. If you only focus on building materials, your base will be a fortress, but your hero won't have the DPS to clear the waves, eventually leading to a breach.
Artifact chests, found scattered in the dangerous outer biomes, provide a massive injection of both resources and a guaranteed high-tier power-up. This makes the Cat Bayun hero exceptionally valuable in the meta, as their high evasion allows them to "rat" these chests while the rest of the team holds the line.
Wave Milestones: Adapting Your Build Over Time
A run in Sineus Arena Survivors is a marathon, not a sprint. Your power-up priorities must shift as the match progresses.
- Waves 1-10: The Expansion Phase. During the early game, the Khmar spawn in manageable, staggered groups. This is your window to be greedy. Prioritize power-ups that increase your resource gathering rate, such as the "Magnetized Harvester" which pulls building materials toward you from a distance. You want to venture as far from the Beacon as safely possible to secure artifact chests before the map becomes too dangerous.
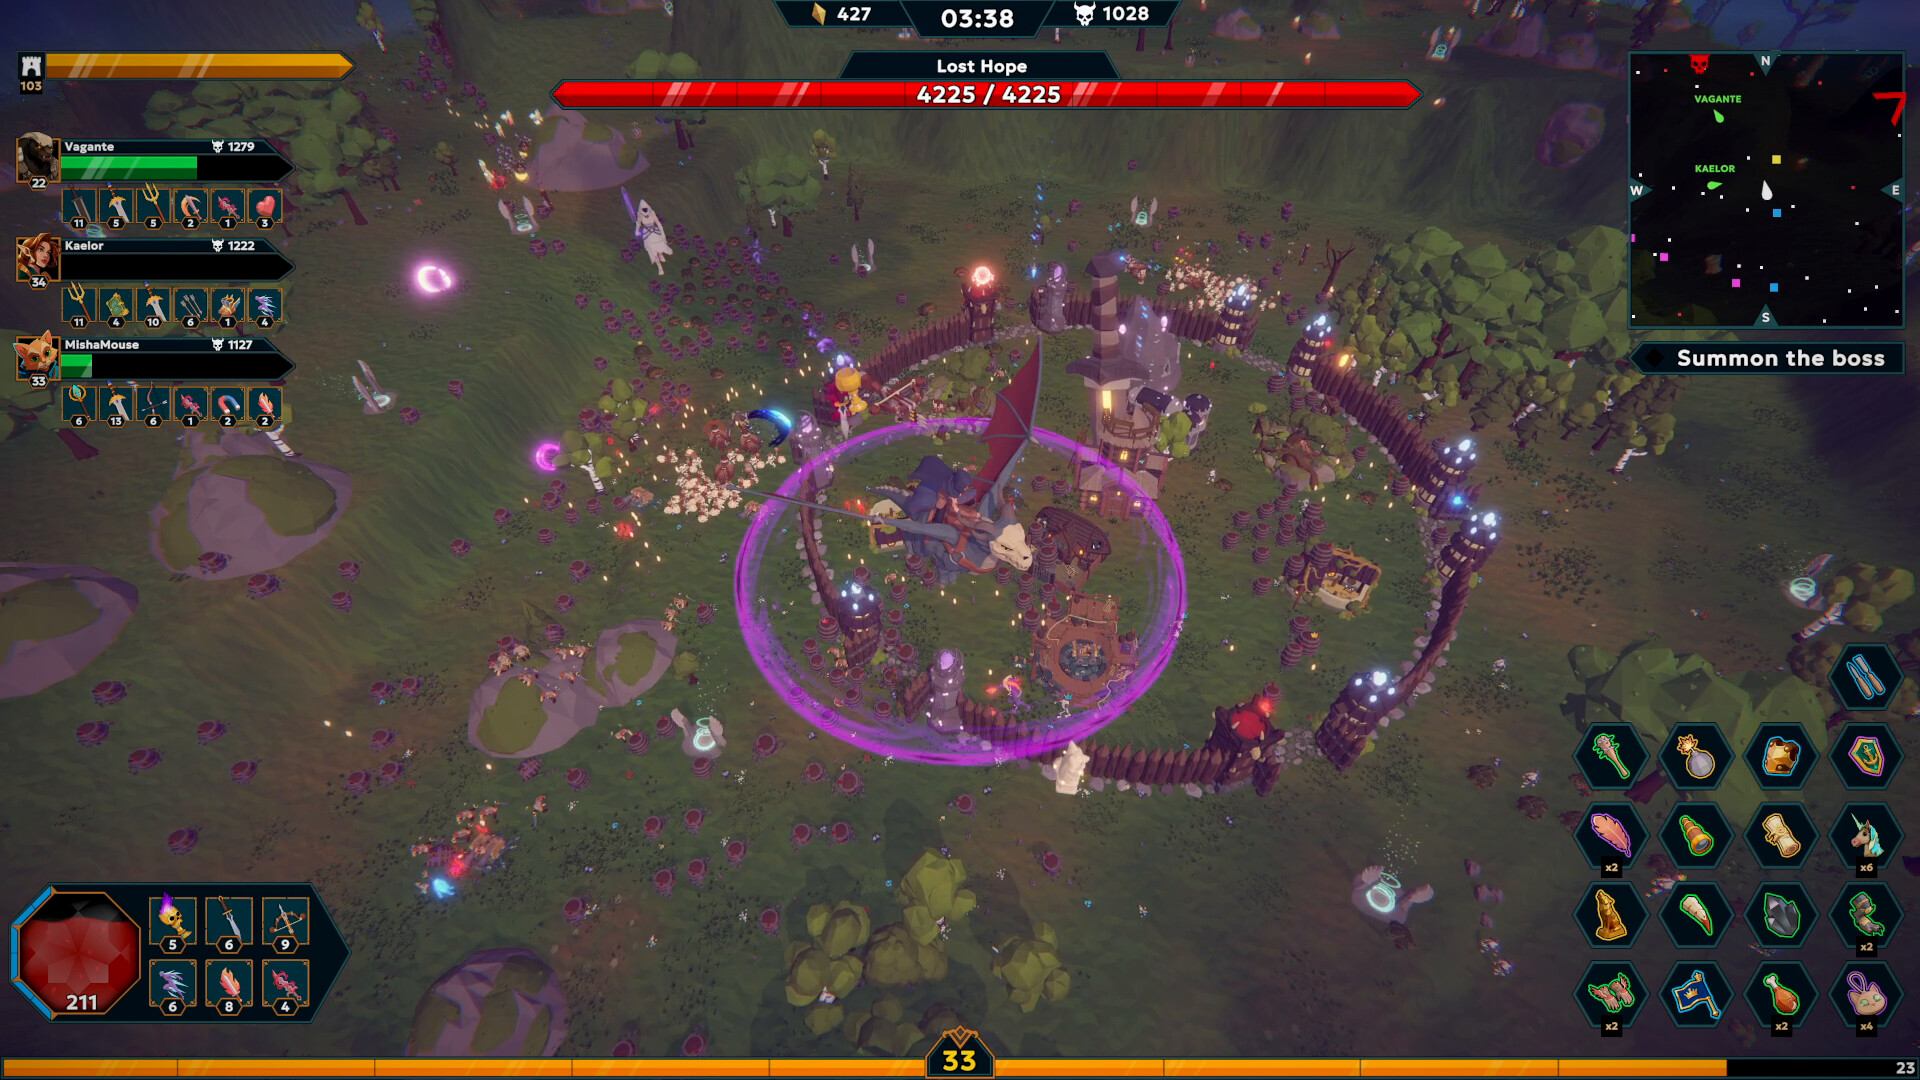
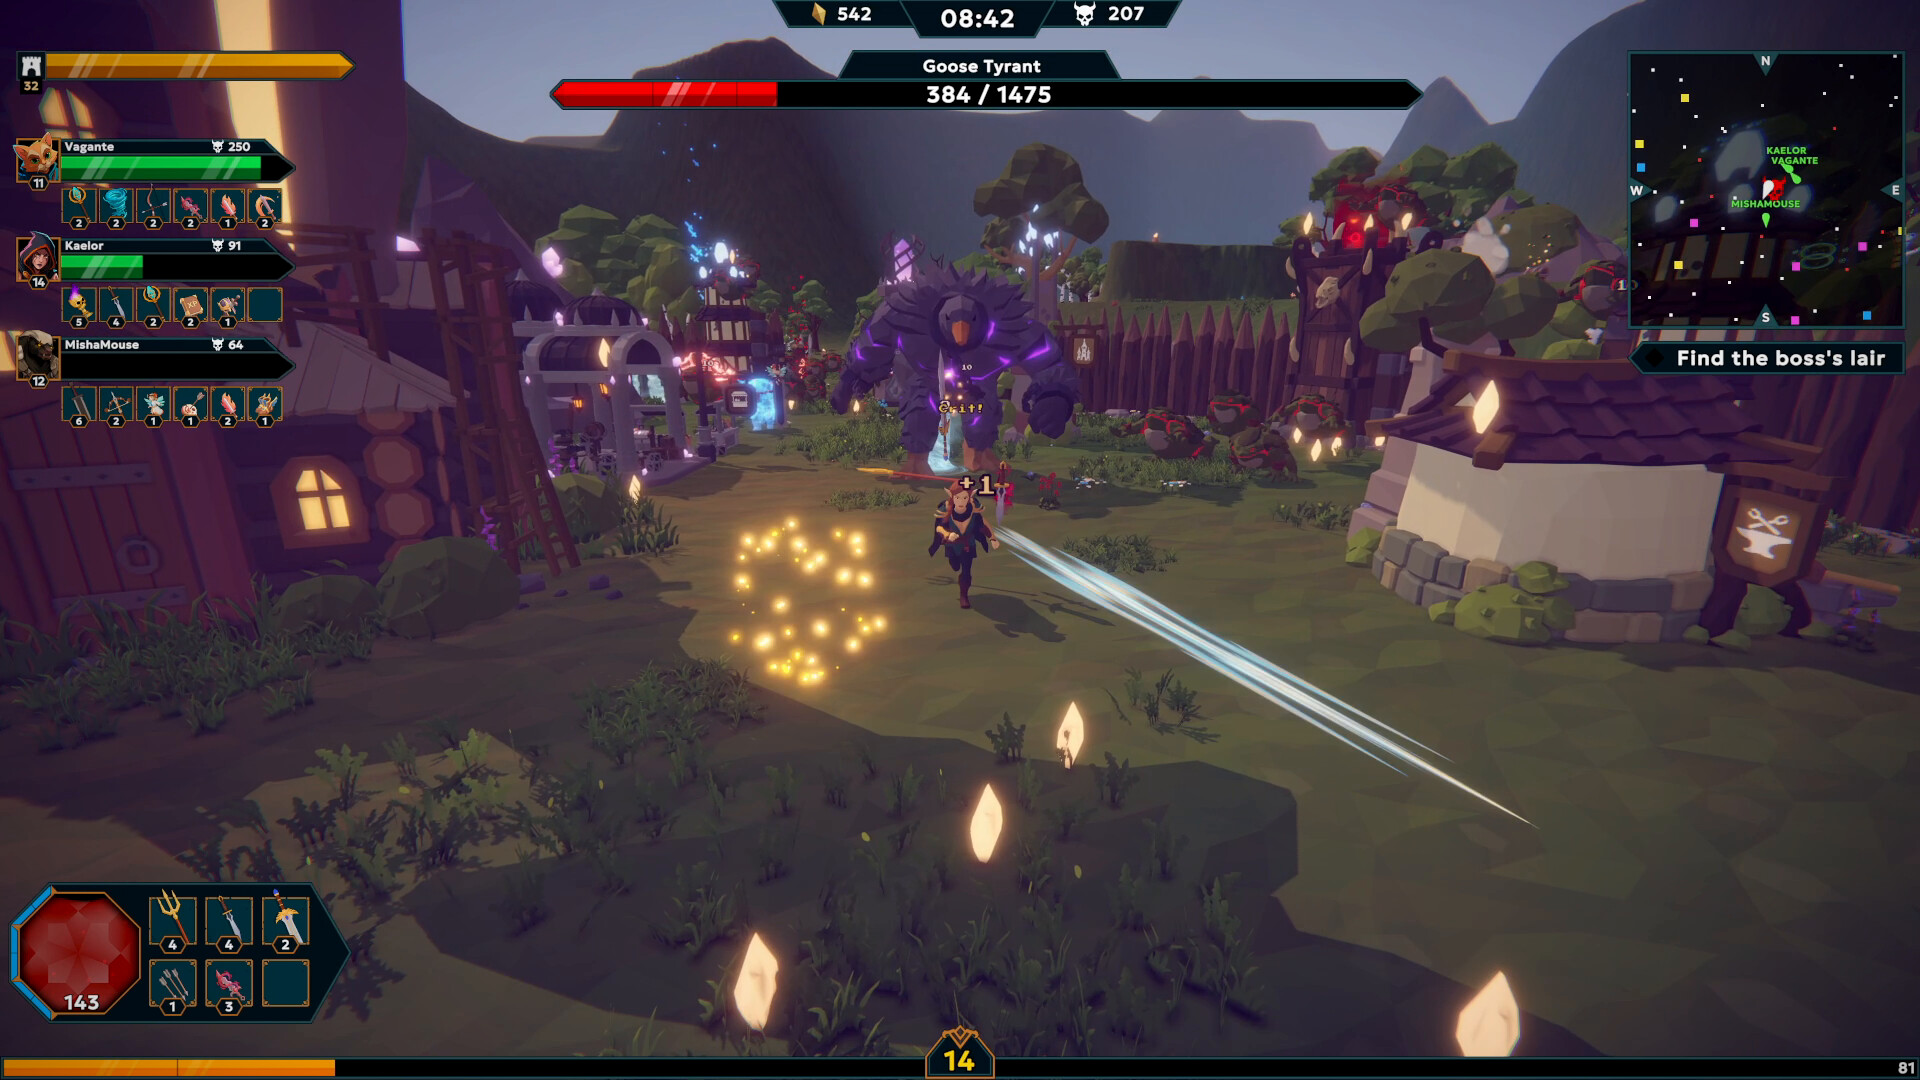
- Waves 11-20: The Fortification Phase. By Wave 10, you will face your first major Boss encounter. The boss ignores standard barricades and will path directly toward your hero or the Beacon. Here, single-target DPS power-ups like "Piercing Railgun" or "Searing Light" become necessary to burst the boss down before it collapses your base. Once the boss falls, immediately pivot back to AoE and crowd control.
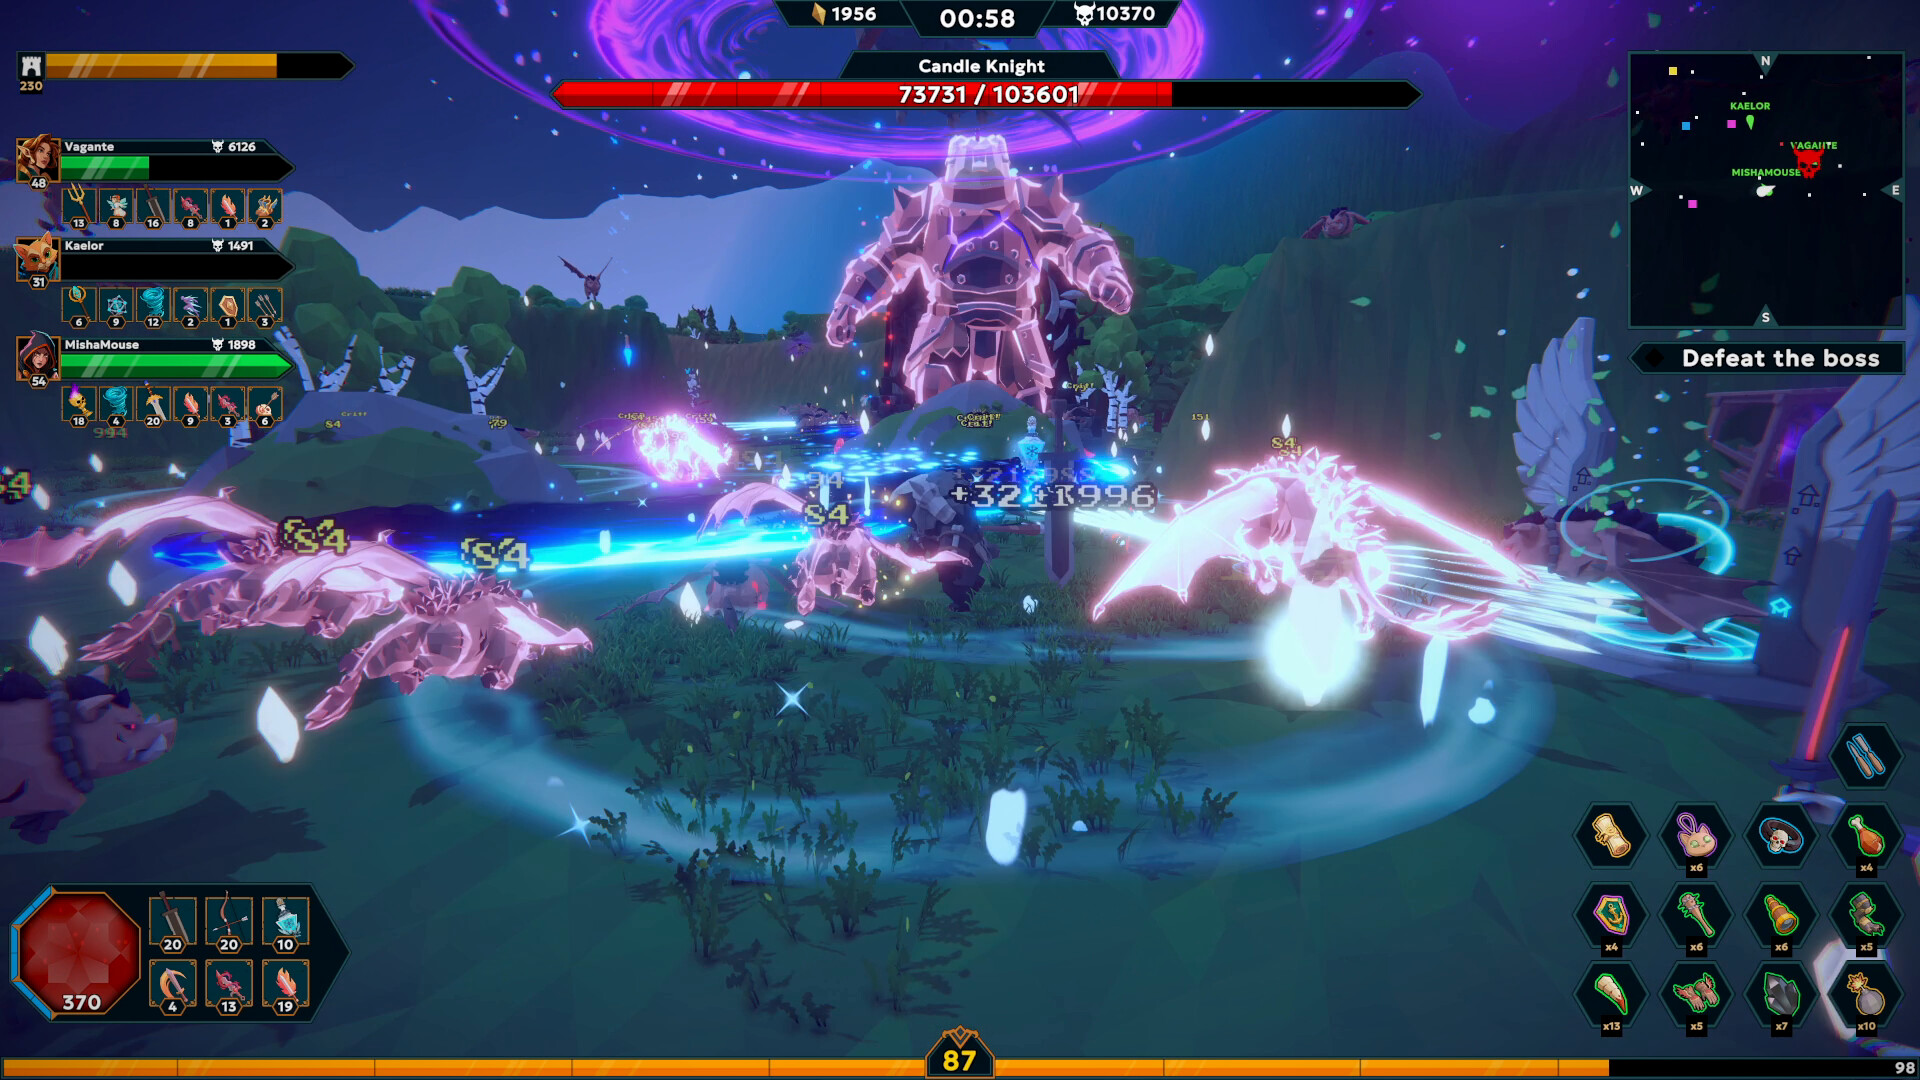
- Waves 21-30: The Endless Siege. At this stage, the screen is entirely filled with enemies. Leaving the perimeter of your base is certain death. Your build must rely entirely on the Tundra Combo, the Infinite Aura Farm, and your Auto-Repair Drones. If your passive synergy isn't locked in by Wave 20, the sheer mathematical scaling of the Khmar health pools will overwhelm your defenses.
Co-Op Multiplayer Scaling: Sharing the Loot
Sineus Arena Survivors supports up to four players in its co-op campaign, and the dynamic changes completely when you add friends to the mix. Enemy health and spawn rates scale aggressively with each additional player, meaning a disjointed team will fail faster than a solo player.
In co-op, you must specialize. It is highly inefficient for all four players to run the Infinite Aura Farm build. Instead, designate one player as the "Architect" (focusing entirely on tower-buffing power-ups and auto-repair artifacts), one as the "Scout" (playing Cat Bayun with movement speed to hunt chests), and two as "Defenders" (running the Tundra Combo and heavy DPS to hold the choke points). Power-ups that provide team-wide buffs, such as the "Banner of the Vanguard" (+15% damage to all allies within radius), become exponentially more valuable in a four-player lobby.
Frequently Asked Questions (FAQ)
What is the best starting weapon in Sineus Arena Survivors? For solo play, the "Radiant Pulse" is the most consistent starting weapon. It requires no aiming, provides immediate 360-degree protection, and scales perfectly into the Infinite Aura Farm build later in the run.
How do you heal the Beacon? The Beacon cannot be healed by standard hero health potions. You must either manually repair it using gathered resources (which is dangerous during combat) or equip the "Auto-Repair Drones" passive artifact to heal it automatically over time.
Can you pause the game to build structures? No. Sineus Arena Survivors features real-time base building. You must place towers, walls, and upgrades while actively dodging enemy projectiles and managing your hero's positioning.
What happens if you venture too far from the Stronghold? While the outer map contains valuable artifact chests and resource nodes, enemy density increases the further you travel from the Beacon. If you are caught out in the open during a wave transition, you will likely be swarmed and killed before you can retreat to your defenses.
Sources
- Sineus Games. Sineus Arena Survivors Demo. Steam Early Access, June 2026.
- Community Leaderboards and Patch 1.0 Alpha Data.
- Steam Next Fest Gameplay Showcases and Developer Broadcasts.