Surviving the 7 Arenas and ascending to godhood requires more than just picking high-damage cards. If you want to defeat the 7 Sin Kings, you need to know the best rune chains Runeveil has to offer. In this newly released sequencer roguelike, your deck means nothing if your placement is flawed. The game operates on a strict mathematical law: left slots set up the board state, middle slots bridge the mechanics, and right slots deliver the payoff.
Players who treat Runeveil like a standard deckbuilder will hit a hard wall by Arena 4. The true depth of the game lies in exploiting the exponential math of the Sequencer Board. By chaining specific elemental runes across the 5-slot matrix, you can turn a basic 10-damage spell into a 4,000-damage execution. Below is the definitive tier list and combo guide for breaking the game.
Why Sequencing Matters for the Best Rune Chains Runeveil Has to Offer
Before diving into the specific wizard builds, you must understand the Sequencer Matrix. The game's central motto—> "Magic is chaos, order is power!"—is a literal description of its combat engine.
When you enter an Arena, you are presented with a 5-slot Sequencer Board (which can be upgraded to 6 slots via late-game artifacts). Runes resolve strictly from left to right.
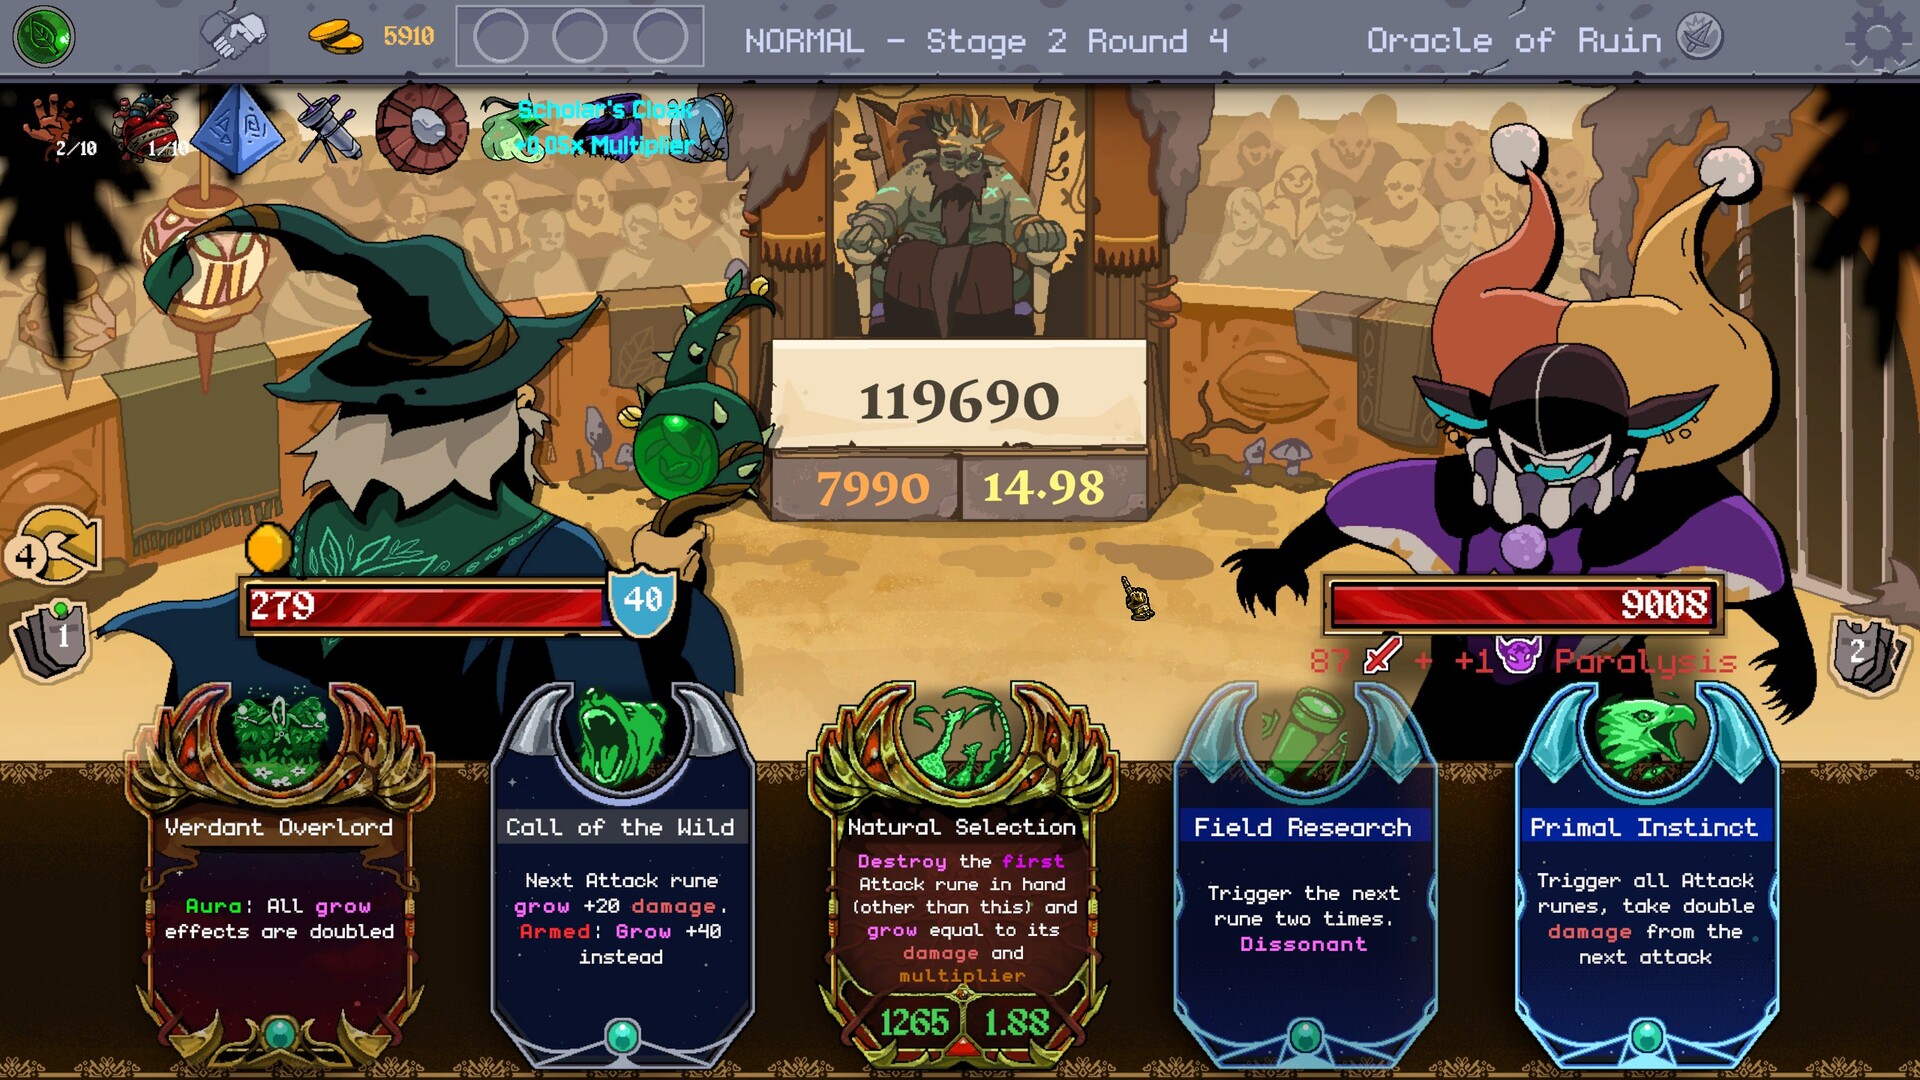
- Slots 1 & 2 (The Setup): These slots are dedicated to applying elemental debuffs. Placing a high-damage payoff rune here is a waste of mana, as it lacks multipliers.
- Slot 3 (The Bridge): This is where the magic happens. Bridge runes do not deal direct damage; instead, they multiply, convert, or echo the status effects built up in the setup slots.
- Slots 4 & 5 (The Payoff): These slots consume the multiplied status effects to deal exponential damage, apply massive crowd control, or execute enemies.
The difference between an average player and a god-tier wizard is the ability to maximize the math in Slot 3 before the sequence reaches Slot 5.
S-Tier: The Best Rune Chains Runeveil Players Use to Break the Game
These three chains are universally considered game-breaking. If you draft these exact sequences, you can one-shot Elite encounters and bypass the most punishing mechanics of the Sin Kings.
1. The Exponential Ignition (Ignis the Pyromancer)
The Pyromancer is the undisputed king of raw mathematical output. The "Exponential Ignition" chain relies on converting massive stacks of Burn into a critical hit multiplier.
- Slot 1: Kindling Strike (Applies 2 'Burn' stacks to the target).
- Slot 2: Bellows (Doubles the current 'Burn' stacks on the target).
- Slot 3: Catalyst (Consumes all 'Burn' stacks and converts them into a 'Critical Multiplier' for the next damage rune).
- Slot 4: Meteor Swarm (Deals 50 base damage, multiplied by the active Critical Multiplier).
The Math: You apply 2 Burn. Bellows doubles it to 4. Catalyst converts 4 Burn into a 4x Critical Multiplier. Meteor Swarm hits for 50 x 4 = 200 damage. If you have an artifact that triggers Slot 2 twice, that multiplier jumps to 8x, dealing 400 damage—enough to instantly phase the boss of Arena 3.
2. The Void Singularity (Kaelen the Voidmancer)
Voidmancers do not deal direct damage well; instead, they manipulate enemy health thresholds. The "Void Singularity" is the ultimate boss-killer chain.
- Slot 1: Abyssal Pull (Groups all enemies and applies a 5% 'Gravity' debuff).
- Slot 2: Dark Matter (Deals flat damage, but more importantly, adds another 10% 'Gravity').
- Slot 3: Event Horizon (Doubles the total 'Gravity' percentage on all targets).
- Slot 4: Collapse (Executes any enemy whose health percentage is lower than their 'Gravity' debuff percentage).
The Math: 5% + 10% = 15% Gravity. Event Horizon doubles this to 30%. Collapse will instantly execute any enemy—including Sin Kings—if they are below 30% maximum HP. This completely bypasses the final enrage phases of late-game bosses.
3. The Absolute Zero Lock (Aura the Cryomancer)
If you prefer taking zero damage, the Cryomancer offers an infinite crowd-control loop that prevents enemies from ever taking a turn.
- Slot 1: Hoarfrost (Applies 'Chill' and draws 1 rune).
- Slot 2: Deep Freeze (If the target has 'Chill', apply 'Stun' for 1 turn).
- Slot 3: Shatter (Deals 100 damage to 'Stunned' targets and consumes the 'Stun').
- Slot 4: Echoing Ice (Repeats the exact effect of the rune in Slot 3).
The Math: You stun the target, deal 100 damage, and then immediately deal another 100 damage. Because Hoarfrost draws a rune, this chain is incredibly cycle-efficient, allowing you to lock down the board turn after turn.
A-Tier: Highly Consistent Best Rune Chains Runeveil Early Game
While the S-Tier chains require specific rare runes, the A-Tier chains are highly consistent, easy to draft, and will comfortably carry you through the first four Arenas.
The Storm Surge (Lyra the Aeromancer)
Aeromancers excel at wide area-of-effect (AoE) clearing, making them perfect for the swarm encounters in the early game.
- Slot 1: Static Charge (Applies 'Conductive' to all enemies).
- Slot 2: Conduct (Deals 10 damage to all 'Conductive' enemies and jumps to a new target).
- Slot 3: Thunderstrike (Deals 30 damage, doubled if the target was hit by a jump attack this turn).
This 3-rune chain is incredibly cheap on mana and will clear the Gluttonous Mire (Arena 1) without requiring any artifacts.
The Tectonic Shift (Bram the Geomancer)
Geomancers are slow but inevitable. This chain focuses on stripping enemy armor before delivering a massive single hit.
- Slot 1: Tremor (Removes 20 Armor from the target).
- Slot 2: Fault Line (If the target has 0 Armor, apply 'Exposed').
- Slot 3: Eruption (Deals 80 damage to 'Exposed' targets).
This is your bread-and-butter elite killer in the mid-game, though it struggles against bosses with regenerating armor mechanics.
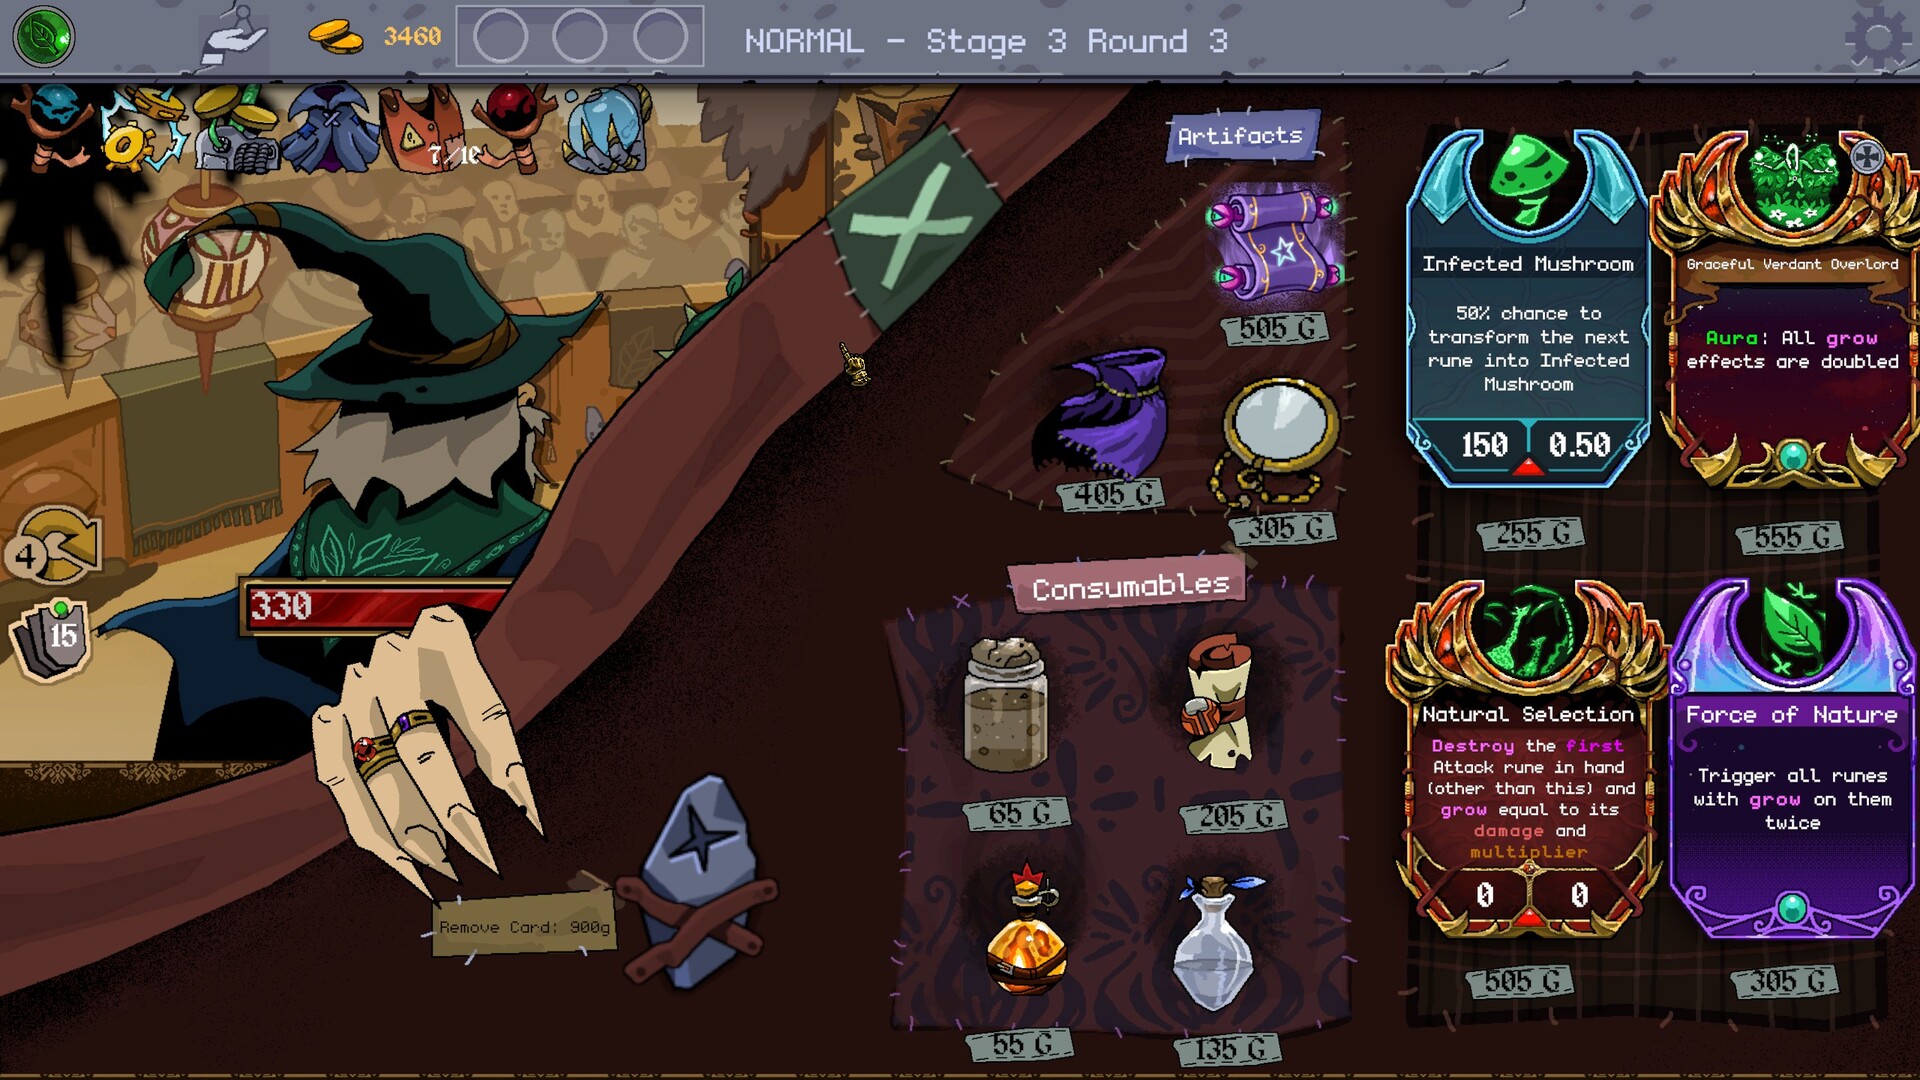
Artifact Synergies That Elevate Your Rune Chains
Runes are only half the equation. Artifacts (relics) found in treasure nodes fundamentally alter how the Sequencer Board behaves.
- Obsidian Hourglass: This is arguably the strongest artifact in the game. It forces Slot 2 to trigger twice. If you place a multiplier rune like Bellows or Event Horizon in Slot 2, the math goes from quadratic to exponential instantly.
- Prismatic Core: This relic converts all elemental debuffs (Burn, Chill, Gravity) into a universal 'Vulnerability' stack. This allows you to mix and match elemental wizards in late-game hybrid drafts, creating chains that shouldn't legally exist.
- Cursed Chalice: Grants a flat +50% base damage to all Payoff runes, but you take 5 damage for every setup rune played. Use this only if you have a reliable source of shielding or lifesteal in Slot 1.
How to Counter the 7 Sin Kings with Specific Rune Chains
The ultimate test of your sequencing ability comes at the end of each Arena. The 7 Sin Kings do not just have massive health pools; they actively disrupt your Sequencer Board.
The Gluttony King (Arena 1: The Gluttonous Mire)
The Gluttony King's passive ability eats any unplayed runes in your hand at the end of your turn, healing himself for their mana cost.
- Counter Strategy: You cannot afford to hold onto expensive payoff runes waiting for the perfect setup. Use fast, low-cost chains like the Aeromancer's Storm Surge. Play out your entire hand every turn to starve him of healing.
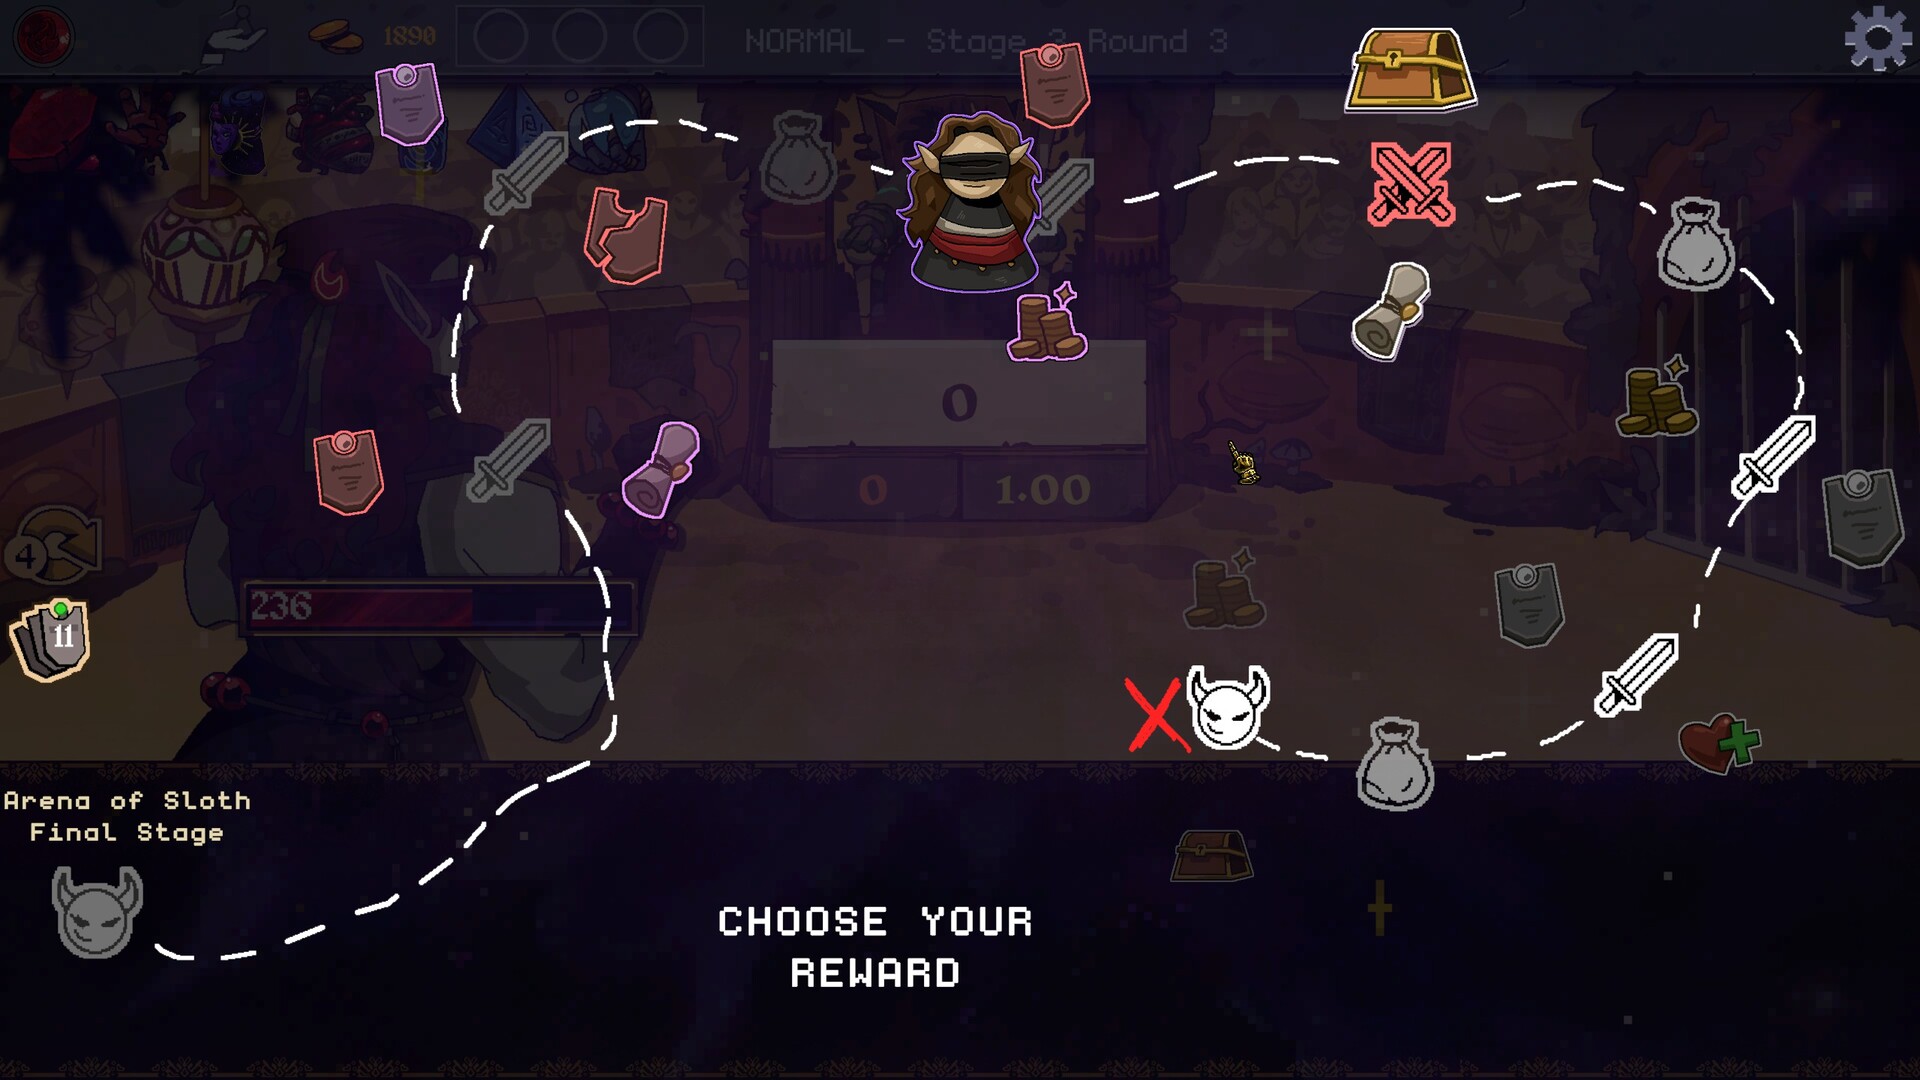
The Sloth King (Arena 4: The Slothful Wastes)
The Sloth King reduces your maximum action points (mana) by 1 every three turns.
- Counter Strategy: Long 4-slot and 5-slot chains become impossible here. You must pivot to high-impact 2-rune chains. The Geomancer's Tremor into Eruption is perfect here, allowing you to deal massive damage with minimal AP investment.
The Wrath King (Arena 7: The Wrathful Peak)
The final boss punishes the core mechanic of the game: every time you play a Setup rune (Left slots), he immediately launches a counterattack.
- Counter Strategy: If you try to build a 4-stack Burn setup, you will die before you reach your payoff. You must place defensive runes (like Aegis or Frost Shield) in Slot 1 and Slot 2. The setup must protect you from the counterattacks while still bridging into a lethal Slot 4 payoff like the Voidmancer's Collapse.
Frequently Asked Questions About the Best Rune Chains Runeveil Offers
What are the best rune chains Runeveil beginners should learn?
Beginners should start with Ignis the Pyromancer and focus on the basic Burn-to-Crit chains. The sequence of Kindling Strike -> Catalyst -> Meteor Swarm is easy to understand and teaches the fundamental left-to-right math of the Sequencer Board without requiring complex relic synergies.
How do I unlock more runes in Runeveil?
New runes are unlocked globally by defeating the 7 Sin Kings and leveling up your Elemental Wizards. Even if you die in an Arena, the experience gained contributes to unlocking the remaining 30+ runes per wizard class, opening up wilder combo possibilities for your next run.
Does left-to-right sequencing always trigger?
Yes, the Sequencer Board always resolves from Slot 1 to Slot 5. However, certain enemy debuffs (like the Sloth King's "Disrupt") can lock a specific slot, forcing the sequence to skip it. You must adapt your placement to ensure your Bridge rune isn't placed in a locked slot.
Sources
- Runeveil Early Access Patch Notes & Developer Updates (June 2026).
- Dicehit Developer Interviews from Steam Next Fest.
- Community theorycrafting and math breakdowns from the official Runeveil Steam Community Hub.