Zadbox Entertainment, the studio that cut its teeth on the brilliant Quern: Undying Thoughts, has finally delivered its sophomore effort. Released on June 23, 2026, Dimhaven: The Lost Source is a masterclass in first-person puzzle design. You step into the boots of Emily Ravenstone, arriving on a fog-drenched island that was once a thriving tourist trap, now abandoned to the elements and a deeply unsettling mystery. Your uncle is missing, and the only tools at your disposal are a vintage camera, a notebook, and your own deductive reasoning.
Unlike the abstract, cosmic isolation of Quern, Dimhaven grounds its puzzles in tactile, environmental reality. You aren't manipulating magical alien monoliths; you are rewiring rusty fuse boxes, siphoning diesel, and deciphering bureaucratic tourist maps. The island demands observation, patience, and a willingness to backtrack when you inevitably realize that a seemingly useless rubber tube is actually the key to restoring the grid. This complete walkthrough will guide you through the critical path, ensuring you don't spend hours staring at a broken cable car or a locked mansion door.

Essential Mechanics: The Camera and the Notebook
Before diving into the step-by-step solutions, you must understand how Dimhaven expects you to interact with its world. There is no combat here, nor are there arbitrary inventory combinations. Progression is gated entirely by information.
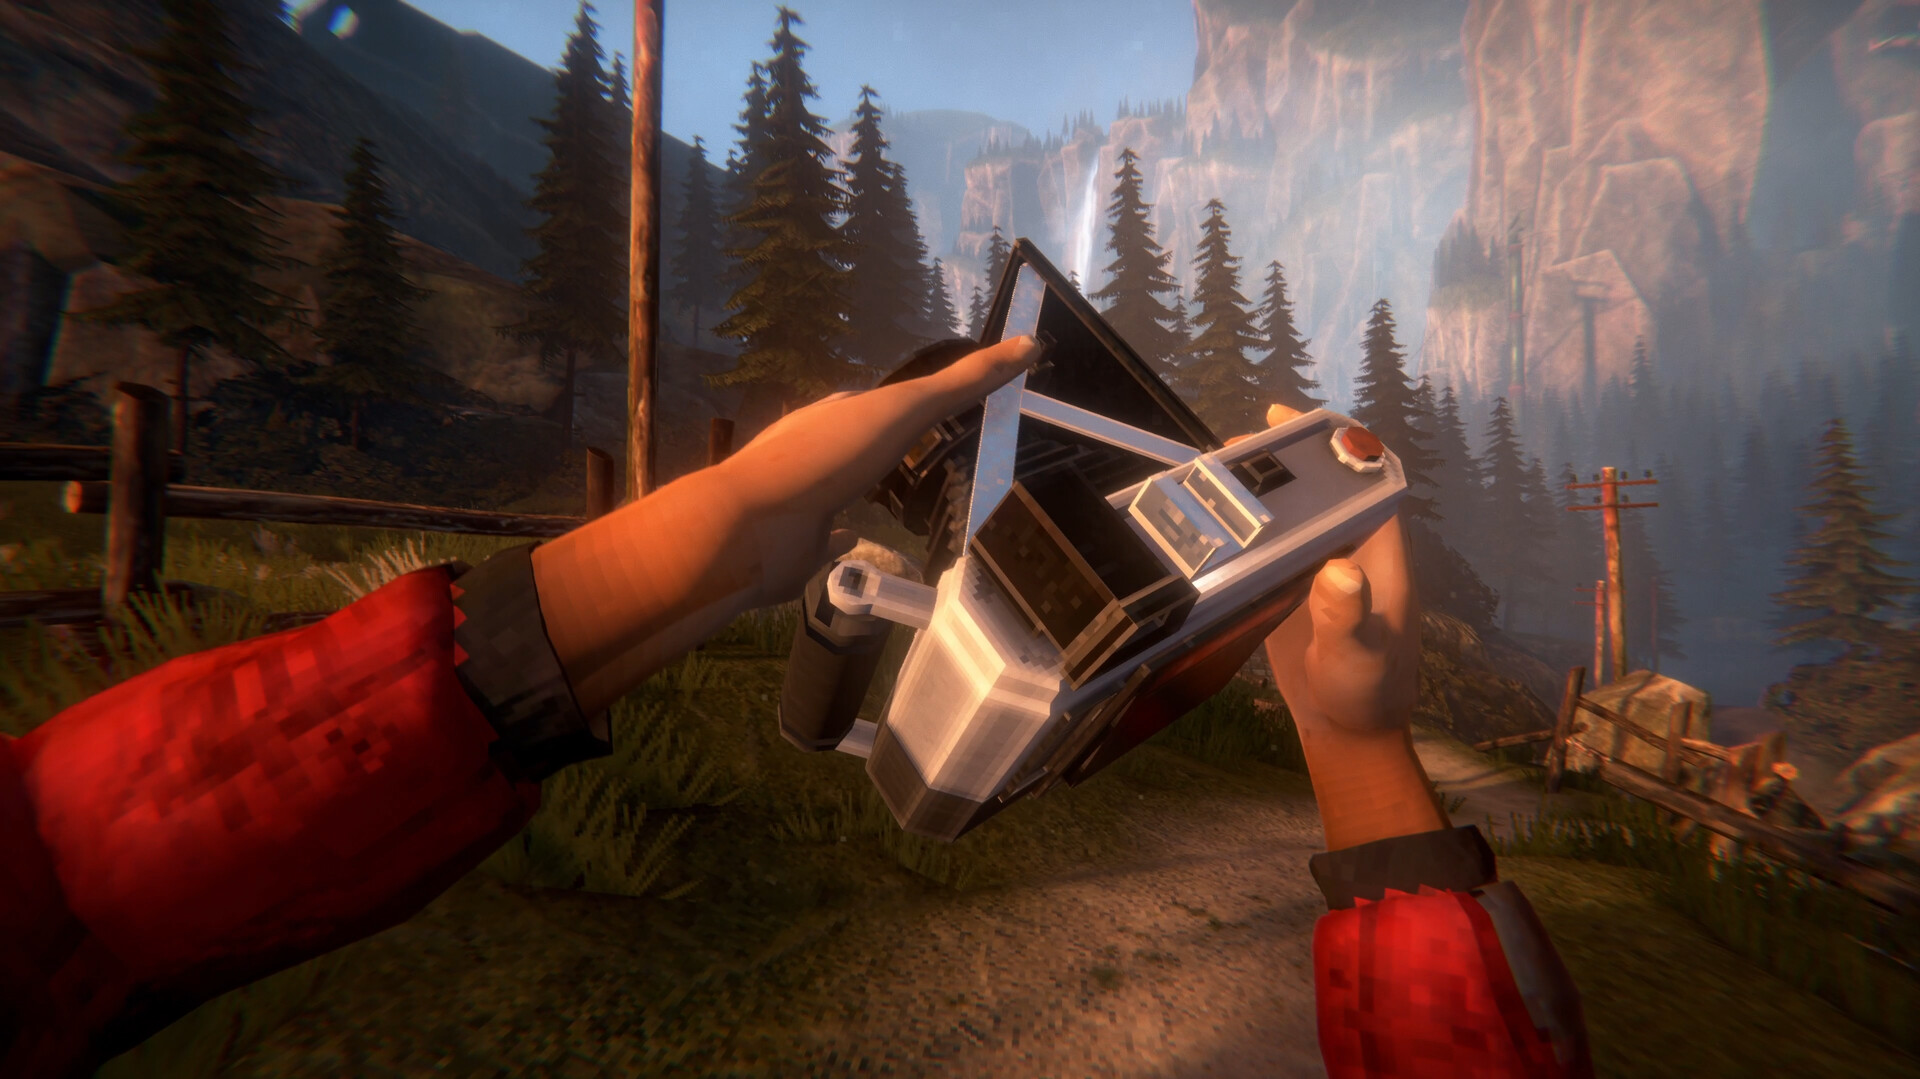
Your camera is not just for hunting achievements; it is a vital mechanical tool. When you encounter a complex schematic on a wall in one building and need to input its sequence into a control panel halfway across the island, your camera is your memory. Take photos of everything that looks remotely like a sequence, a map, or a set of instructions.
Similarly, Emily's notebook automatically updates with key objectives and narrative clues. If you find yourself stuck, cross-reference your recent photos with the notebook's latest entries. Often, the solution to a puzzle in Kishvar was foreshadowed by a seemingly innocuous poster back in the Landing Bay.
Part 1: The Landing Bay and the Visa Checkpoint
Your arrival on Dimhaven is unceremonious. The docks are dead, the mist is thick, and the primary gate into the island's interior is sealed tight by a malfunctioning automated security system.
Your first major hurdle is the Visa Checkpoint. The terminal is dead, and the sorting tray is jammed. Head around to the back of the security booth to find an exposed maintenance panel. Here, you must analyze the malfunctioning visa checkpoint circuitry. The logic puzzle requires you to rewire the primary answer buttons to bypass the lock. Follow the colored cables from the power source, ensuring the voltage matches the inputs required by the gate's locking mechanism.
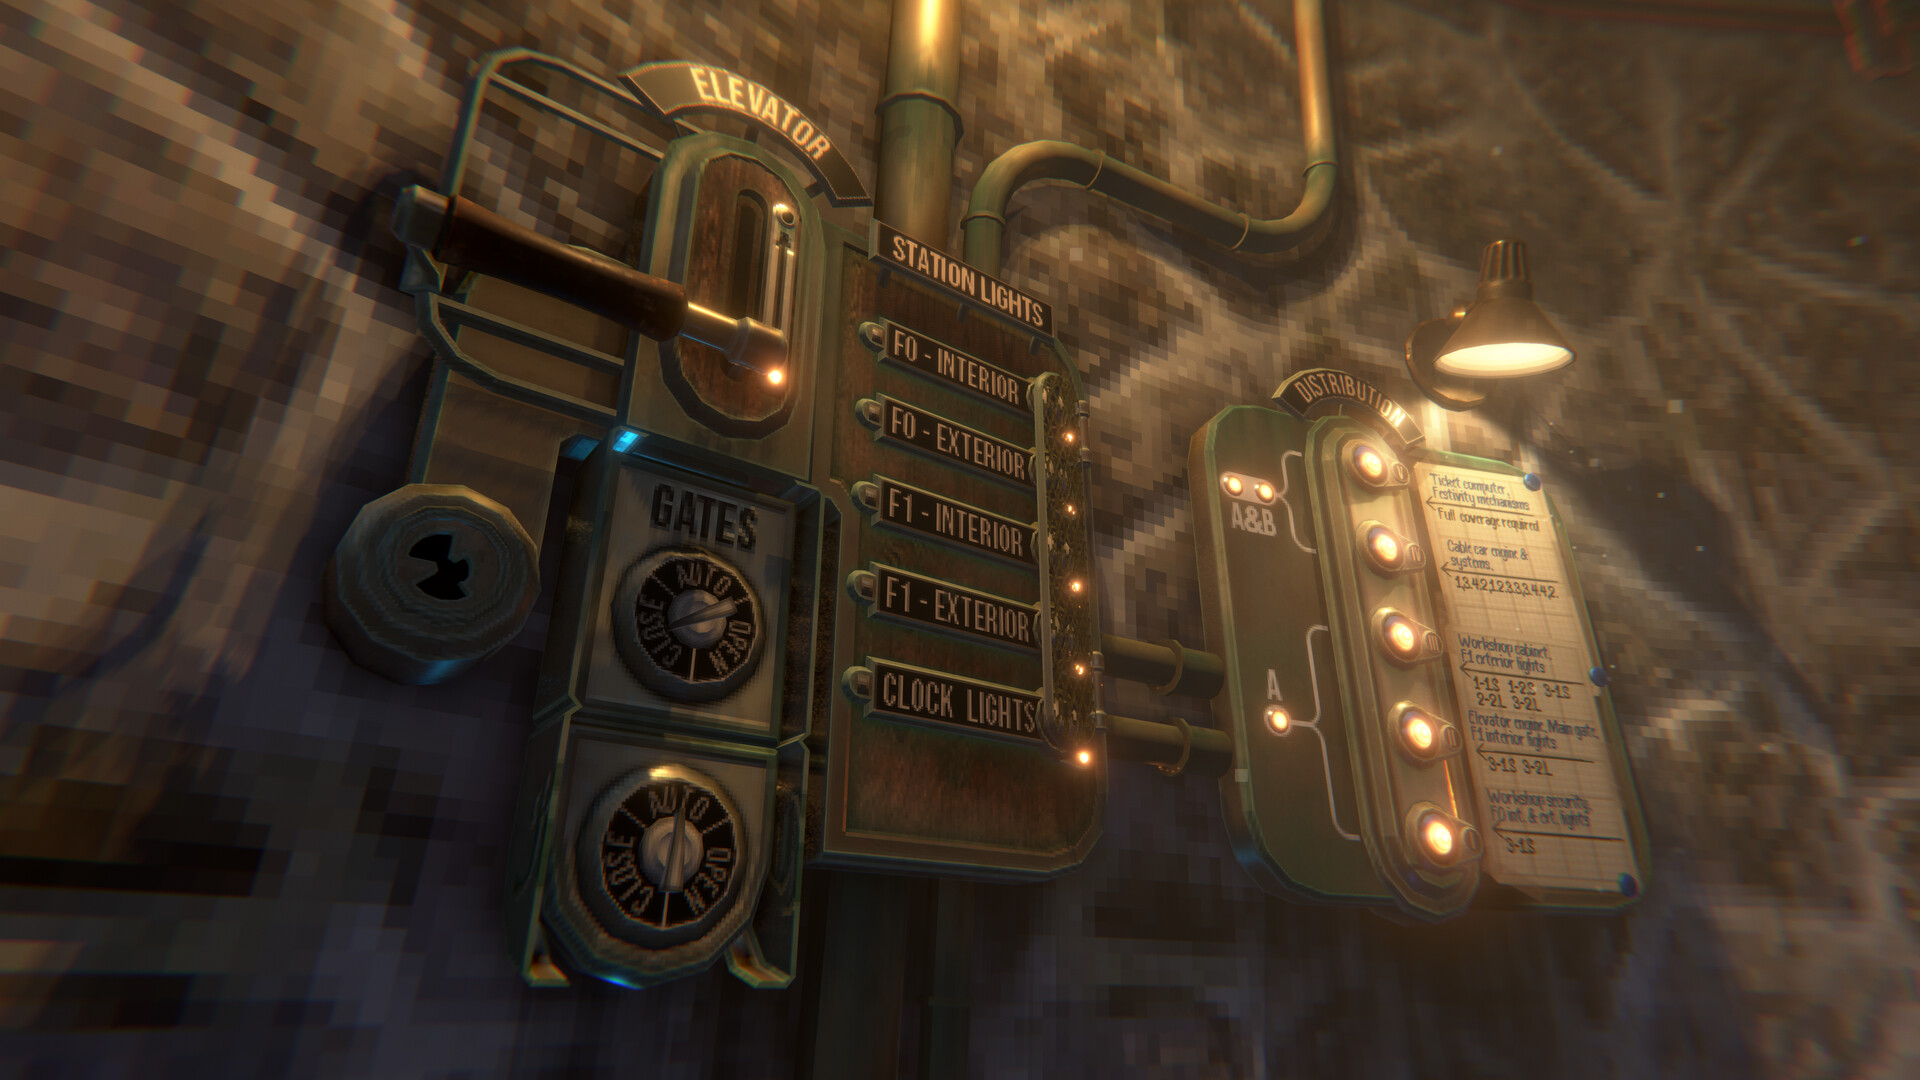
Once the checkpoint is powered, you will notice a jammed mechanism in the sorting tray. Clear the debris to retrieve an abandoned passport. Do not leave this booth without looking underneath the main desk—this is where you locate the hidden Photo Challenge Pamphlet, which activates the game's secondary collectible quest. With the passport in hand and the circuitry bypassed, hit the main release switch to unlock the heavy iron gate leading to Bay Tower.
Part 2: Bay Tower, Generators, and Thieving Birds
The Bay Tower acts as the island's central hub, but it is entirely devoid of power when you arrive. Your primary objective here is to get the main generator running so you can access the deeper regions of the island.
Start by searching the ground floor offices. Inside a locked drawer (the combination is found on a clipboard in the adjacent hallway), you will find the Medical Access Card. More importantly, check the maintenance closet near the stairwell to acquire the rubber tube.

Head outside to the docks behind the tower. You will find a small, abandoned motorboat bobbing in the water. Combine the rubber tube with an empty jerrycan found on the pier to siphon fuel from the abandoned boat. Carry the full jerrycan back to the basement of Bay Tower and pour fuel into the main generator.
Pulling the starter cord brings the grid back to life, but your work isn't done. The power surge activates an automated winch outside. Head to the balcony and use the controls to lower a ladder to a bird's nest perched on a nearby silo. Climb up to retrieve a missing mechanical lever.
Attach this lever to the broken payphone in the lobby. Ringing it triggers a mysterious, static-filled call that advances the main narrative. Before leaving the area, use the Medical Access Card to unlock the Ambassadorial Lavatory. Inside, you will find a stash of old Forints (the local currency). Use these coins at the nearby vending machine to buy snacks. Why? Because a particularly aggressive local bird has just swooped down and stolen your passport. Toss the snacks on the ground to lure the bird away, allowing you to reclaim your documents and proceed to the cable car.
Part 3: Hotel Sárkány, Kishvar, and Zack's Mansion
With your passport recovered and the grid active, head to the transit station and ride the cable car up into the mountains. Doing so unlocks the "Too Lazy To Climb" achievement. You have now entered the Kishvar region, characterized by its towering pines and the imposing, brutalist architecture of Hotel Sárkány.
The hotel is in lockdown. To gain entry, you must solve a routing puzzle in the courtyard's electrical shed to restore power to Hotel Sárkány (granting the "This Is Marvelous!" achievement). Inside, the environment shifts from industrial decay to faded luxury. Your investigation will eventually lead you out the back of the hotel and up a winding path to Zack's Mansion.
Zack's Mansion is a dense puzzle box containing some of the game's most challenging logic gates. The standout sequence here involves a retro arcade cabinet sitting in a dark, cluttered study. You must boot up the machine and play through Level 1 of JadeHawk, a clever minigame built into the world.
While you can technically bypass the arcade puzzle by finding a hidden backdoor code in the basement, completing the minigame legitimately is highly recommended. If you manage to beat the high score without exploiting any environmental glitches, you will earn the "True Zadbox Master" achievement. The screen will flash a high score of 9999, and the arcade cabinet will dispense a physical brass token needed to unlock the mansion's heavy wooden double doors.
The Lens of Truth: Completing the Photo Challenges
While unraveling the fate of Emily's uncle is the primary goal, Dimhaven offers a robust secondary objective system via the Photo Challenge Pamphlet you picked up in the Visa Checkpoint. These are not simple hidden objects; they require specific framing, lighting, and context.
The Landing Bay alone contains ten specific photo objectives. Completing all of them unlocks the "A Keen Eye For Detail" achievement. Here is exactly what you need to capture to clear the Landing Bay checklist:
- "A Beautiful Picture" (1/10): Stand on the arrival pier and frame the distant lighthouse perfectly between the two rusted cranes.
- "Someone's Dinner" (2/10): Photograph the half-eaten canned rations left on the table inside the security booth.
- "A Horrible Selfie" (3/10): Point the camera at the shattered, grime-covered mirror in the public restrooms.
- "Something Locked from the Inside" (4/10): Zoom in on the heavy deadbolt visible through the cracked glass of the customs office.
- "Captain's Pipe" (5/10): Found resting on the dashboard of the abandoned boat you siphoned fuel from.
- "A Rebel" (6/10): Photograph the anti-Ravenwood graffiti painted over the official Dimhaven tourist map.
- "Zack's House" (7/10): Use the maximum zoom from the Bay Tower balcony to capture the distant silhouette of the mansion on the cliff.
- "Someone's Lunch" (8/10): A sandwich wrapped in wax paper, hidden in the breakroom locker.
- "A Sleepy Cat" (9/10): Not a real cat, but a ceramic feline figurine resting on the windowsill of the visa office.
- "Someone's Breakfast" (10/10): An empty coffee mug and a pastry crust near the generator controls.
Make sure you also take the time to wipe down your camera lens when prompted. Completely cleaning the dirty camera window early in the game will net you the "Squeaky Clean" achievement and save you from ruined shots later on.
The Verdict on Dimhaven
Dimhaven: The Lost Source is a triumph of environmental puzzle design. By anchoring its logic in the physical reality of an abandoned tourist island, Zadbox Entertainment has created a world that feels coherent, lived-in, and deeply satisfying to untangle. Emily Ravenstone's journey is less about saving the world and more about understanding a profoundly human tragedy, one broken fuse box at a time. Keep your notebook open, your camera lens clean, and trust your own observation—the island gives up its secrets to those who bother to look closely.
Sources
- Zadbox Entertainment, Dimhaven - The Lost Source Steam Store Page & Game Synopsis.
- Landing Bay Walkthrough / Achievements Guide.
- Kishvar Walkthrough / Achievements Guide.
- Zack's Mansion Walkthrough / JadeHawk Guide.
- Dimhaven The Lost Source Full Walkthrough Hub, Into Indie Games.
- Steam Store, Dimhaven - The Lost Source Release Information.