Escape from Crimson Manor: Trapped Together — Full Co-op Walkthrough & Puzzle Guide | BgRemovit
·7 min read·visibility0 views
Escape from Crimson Manor: Trapped Together — Full Co-op Walkthrough & Puzzle Guide
A complete room-by-room co-op walkthrough for Escape from Crimson Manor: Trapped Together. Every puzzle solution, dumbwaiter trade, and code to survive.
MediaCity Games engineered a co-op trap that ruins friendships. Escape from Crimson Manor: Trapped Together abandons the solitary, methodical exploration of its predecessor, The Inheritance of Crimson Manor, and forces two players into a brutal, asymmetric communication test. You are separated, hunted, and entirely dependent on a crackling, unreliable walkie-talkie to survive.
If you fail to describe exactly what you see, you die. If you hoard medical resources while your partner bleeds out, you both die. The game masterfully blends the logic-driven puzzles of an escape room with the suffocating tension of gothic horror. Set against the backdrop of a sprawling, interconnected Victorian mansion filled with secret passages and dark machinery, the game tests your deduction skills under extreme duress. This guide breaks down the complete two-player narrative campaign—The Alliance mode—providing every code, dumbwaiter trade, and puzzle solution required to break the lockdown and escape the Alchemist.
Before touching a single dial or unlocking a single door, you must understand the two core mechanics that dictate your survival: the Dumbwaiter System and the Anemia System. You and your partner wake up in opposite wings of the estate—Player 1 on Floor 1, Player 2 on Floor 2. Your only physical connection is a network of antique service elevators hidden behind the mansion's walls. The game’s design philosophy is strictly asymmetric: one player will consistently find the recipe, while the other will find the ingredients. You must trade keys, elixirs, and crucial lore clues vertically through these wooden shafts.
Simultaneously, the game treats your health as a ticking resource clock. The Anemia System ensures that taking damage from environmental traps, scalding steam, or the Alchemist’s hazards physically drains your blood. At 100% Vitality, you operate normally, able to sprint and read fine text. Once you drop to 50%, your vision blurs—the edges of your screen vignette with a deep crimson, and the depth of field distorts, making it nearly impossible to read the tiny, cursive script on the scattered documents. Hit 25%, and your movement slows to a painful crawl. Managing who gets the medical elixirs via the dumbwaiter is just as critical as solving the logic puzzles.
The campaign begins with a jarring separation. Player 1 awakens in the dusty, mahogany-lined Study, surrounded by cryptic notes regarding the Strange family's dark history. Player 2 is locked inside the humid, overgrown Conservatory, surrounded by rusted Victorian ironwork and dead flora.
The Raven Code (Study): Player 1 faces a heavy oak door secured by a complex 4-digit padlock. To find the combination, look at the four oil paintings hung along the north wall. You must count the ravens in each painting from left to right. The first painting shows four ravens perched on a silver skull. The second shows a single raven in flight. The third depicts three ravens on a gravestone, and the fourth shows two ravens fighting over a scrap of meat. The code is 4-1-3-2. Unlocking this door grants access to the main desk, where you will find the Botanical Key. Drop this key into the dumbwaiter shaft and send it down to Player 2.
The Sundial Mechanism (Conservatory): Player 2 retrieves the Botanical Key from the dumbwaiter tray and uses it to open the greenhouse shed in the corner of the room. Inside sits a rusted sundial missing its gnomon, alongside a locked iron gate secured by a Botanical Lock. Player 1 must examine the massive grandfather clock in the Study, noting that the hands are permanently jammed at exactly 10:15. Player 2 must then rotate the outer brass ring of the sundial to match 10:15. A hidden compartment snaps open, revealing the Brass Gear. Player 2 must immediately send the Brass Gear back to Player 1 via the dumbwaiter.
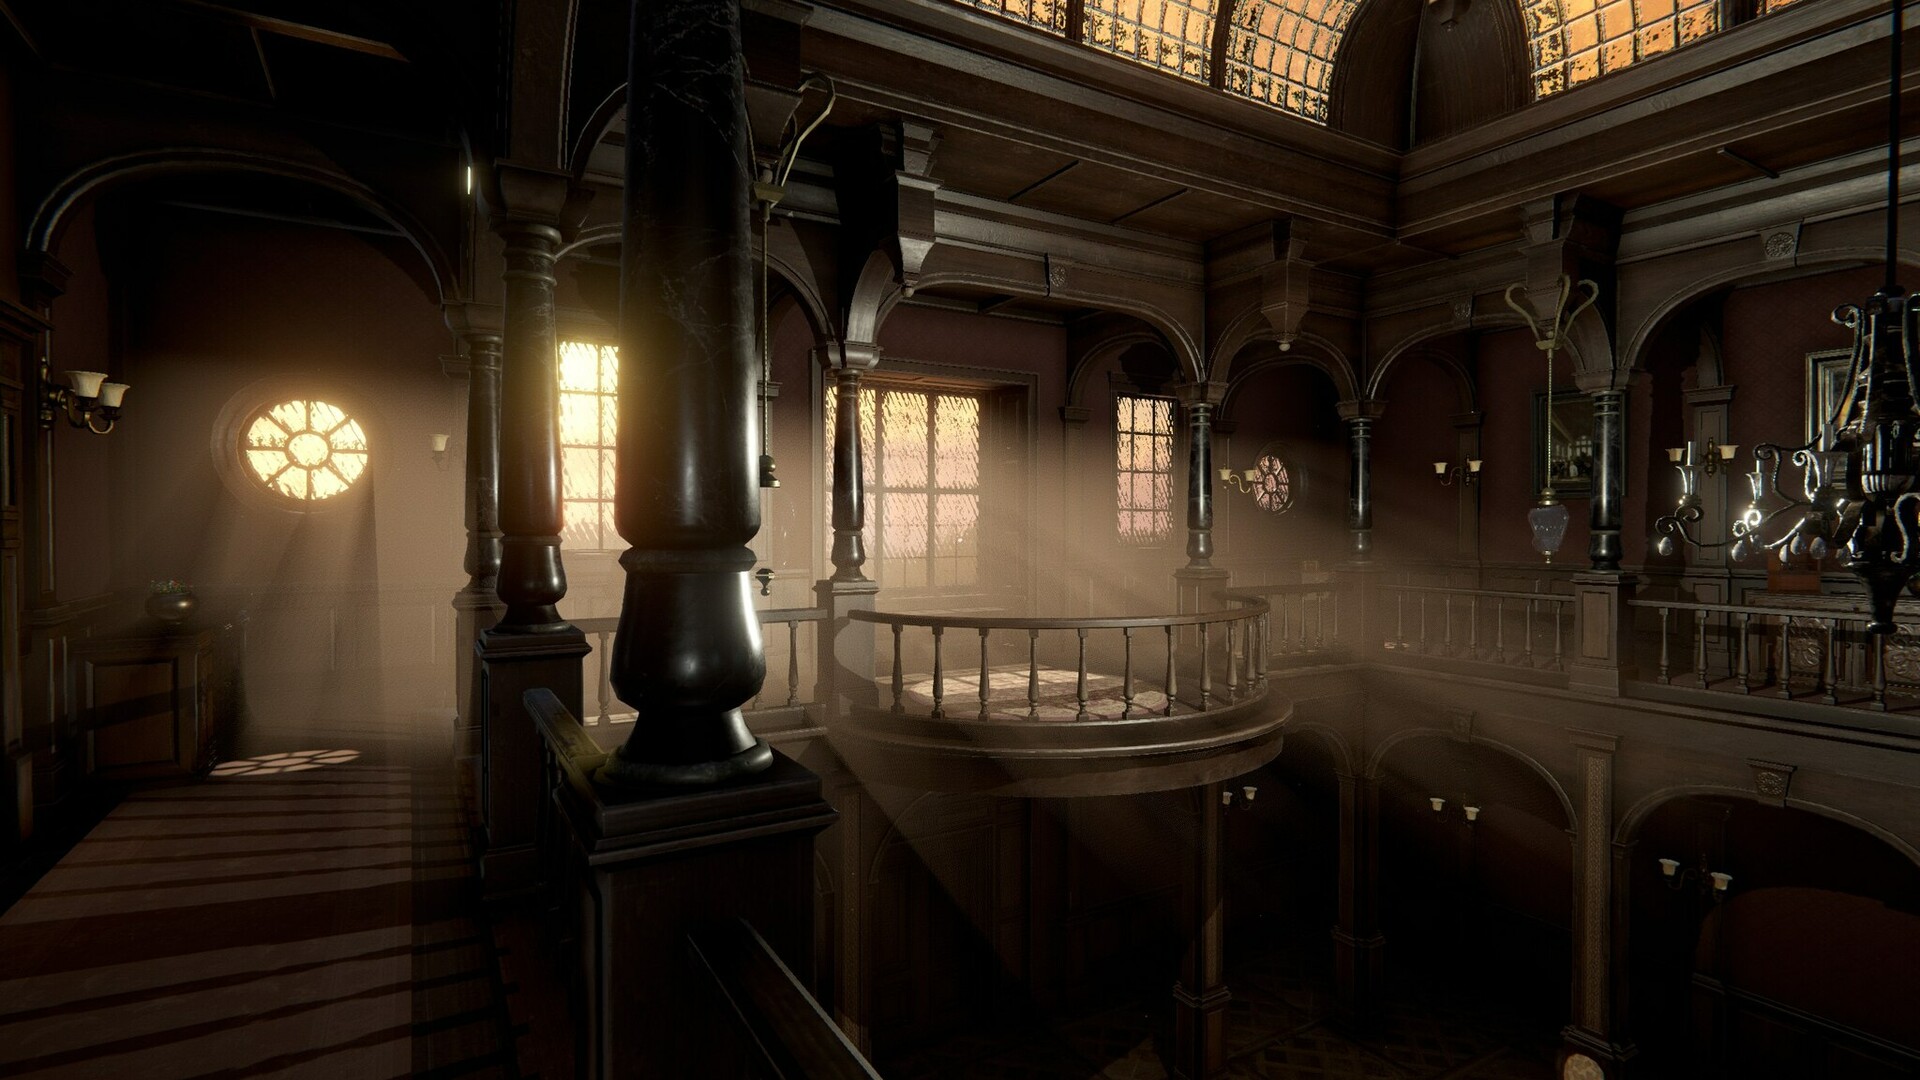
Once Player 1 escapes the Study, they enter the Grand Library, a massive two-story room filled with decaying tomes. Meanwhile, Player 2 leaves the Conservatory and enters the Observatory, a domed room featuring a massive brass telescope pointed at the night sky.
The Constellation Lock: Player 1 finds the primary dumbwaiter shaft locked behind a brass combination dial featuring Zodiac symbols. Without opening this, the Brass Gear cannot be sent to the lower levels. Player 2 must look through the telescope in the Observatory. By adjusting the focus knobs, Player 2 will spot three constellations highlighted in an unnatural red hue: Orion, Cassiopeia, and Ursa Major.
Player 1 must locate the master star chart spread across the Library's central reading table. By cross-referencing the constellations Player 2 describes, Player 1 translates them into numbers based on the chart's index: Orion is 7, Cassiopeia is 2, and Ursa Major is 9. Inputting 7-2-9 into the Zodiac dial unlocks the primary shaft.
Act III: The Boiler Room & The Dumbwaiter Relay
With the Brass Gear in hand, Player 1 can repair the dumbwaiter’s secondary pulley system located in the hallway outside the Library. This repair allows Player 1 to access the basement level Boiler Room. This sequence is a pure communication check that will penalize you heavily for talking over one another.
The Pressure Valves (Boiler Room): Player 1 enters a sweltering room dominated by three massive steam valves (Red, Blue, Yellow) and a locked blast door. If Player 1 turns them randomly, the room fills with scalding steam, rapidly draining their Vitality via the Anemia System. Player 2 must locate the Boiler Maintenance Log, which is hidden inside a hollowed-out botanical encyclopedia in the Observatory.
Player 2 must read the instructions aloud over the radio: "The primary combustion requires the Red valve to be set to 3. The coolant line must remain low, setting the Blue valve to 1. The exhaust must be fully open, setting the Yellow valve to 4."
Player 1 inputs Red 3, Blue 1, Yellow 4. The massive iron blast door groans open, revealing the subterranean tunnel that connects the two wings of the estate. Both players can now navigate toward the center of the manor, but the long-awaited reunion is short-lived.
Act IV: The Alchemist’s Laboratory & Transfusion Machine
Players converge in the central hub, only to find themselves separated once again by a wall of reinforced, blood-spattered glass. You are now in the Alchemist’s Laboratory, the dark heart of Crimson Manor. The room is dominated by a grotesque piece of Victorian machinery: the Transfusion Machine, an apparatus designed to drain youth and grant immortality.
To break the final lockdown, you must sabotage the machine before the Alchemist returns. Player 1 has access to the primary centrifuge and the Alchemist's extraction tube. Player 2 has access to the pressure gauges, the containment vault, and the pneumatic delivery tubes.
The Blood Vials: Player 2 must search the autopsy tables and cryogenic safes to find three hidden blood vials. Slide these vials through the small pneumatic tube embedded in the glass wall to Player 1. Player 1 must carefully insert the three hidden blood vials into the primary centrifuge in descending order of volume.
The Pressure Calibration: The machine will not release the exit key unless the internal pressure is perfectly balanced. Player 1 sees a master gauge that requires exactly 45 PSI, but the adjustment controls are entirely on Player 2's side. Player 2 must align the pressure valves to 45 PSI to avoid triggering a catastrophic lockdown. If the pressure spikes to 50 PSI, the room floods with toxic gas, instantly triggering the Anemia System for both players.
Once the pressure stabilizes, Player 1 must execute the most critical step: the Alchemist's extraction tube must be disconnected first. If you pull the release lever before disconnecting the main tube, the machine reverses its flow and instantly kills Player 1, ending the run.
Escaping the Lockdown (Final Codes)
With the Transfusion Machine successfully sabotaged, the reinforced glass dividing the room shatters, raining debris across the floor. You are finally in the exact same room, standing shoulder to shoulder, but the manor’s primary lockdown protocol is still active. The massive iron doors leading to the courtyard require a synchronized dual-key sequence to open.
Look at the main terminal near the shattered glass. You will see a digital matrix displaying "Pressure 45 PSI / Flow 100%". This confirms the sabotage was successful and the doors are primed. The final step requires absolute synchronization, and the game leaves no room for latency or hesitation. There are two master release levers mounted on opposite sides of the grand foyer.
Player 1 and Player 2 must count down over the walkie-talkie and pull the master release lever simultaneously. A fraction of a second delay will cause the hydraulic gears to jam, forcing you to restart the sequence while the Alchemist actively breaches the room. Coordinate the final lever pull to survive. Once the heavy iron doors swing open, sprint out into the cold Victorian night. You have successfully conquered the puzzles, mastered the communication, and escaped Crimson Manor.
Sources
MediaCity Games, Escape From Crimson Manor: Trapped Together Developer Updates and Steam Community Hub.
Steam Next Fest, Co-op Puzzle Mechanics Previews and Walkthrough Demos.